Navigation - Forward and Back Buttons
Another navigation strategy in Vision is to set up Forward and Back Buttons to navigate between different windows. This strategy is perfect for a small business process with ordered steps. It does not have a docked window, tree view, or tabs to navigate around. It is one big main window and has buttons to navigate forward and back from one Main Window to the next in the list.
Forward and Back Buttons Example
In this example, we'll use the forward and back buttons on a main window to navigate between different windows in a project.
-
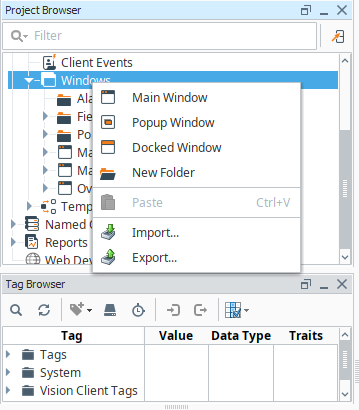
In the Project Browser, right click on the Main Windows folder and select Main Window. Enter a name for your window to whatever best describes the window (i.e., Main Window 1). Add a label to the window for clarity (i.e., Main Window 1) so when you navigate through different windows, you know precisely what window you're viewing. Repeat this step to create Main Window 2 and Main Window 3.
-
From the Component Palette in Designer, drag a Button component to your Main Window 1. Label the button Main Window 2.
-
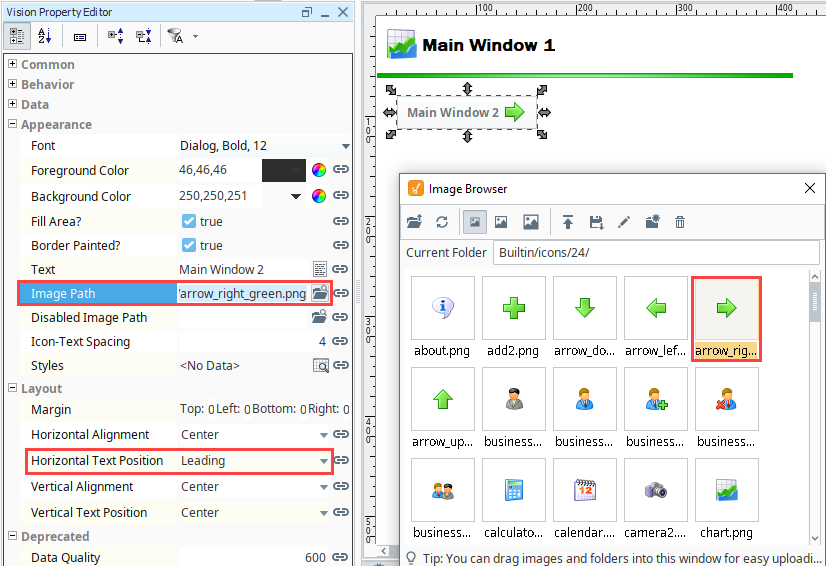
Next we'll add a right green arrow to the Button component. With the Button component selected, click the folder to the right of the Image Path property. This opens the Image Management Tool.
-
Open the Built-in/icons/24/ folder and select a right green arrow. Close the Image Management Tool.
-
Set the Horizontal Text Position property to Left in the Property Editor.
-
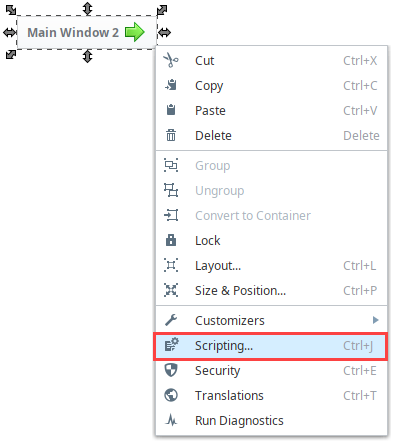
Now you need to tell the Main Window 2 button what to do when someone clicks on it. Right click on the Main Window 2 button and select Scripting. The component scripting dialogue box will open.
-
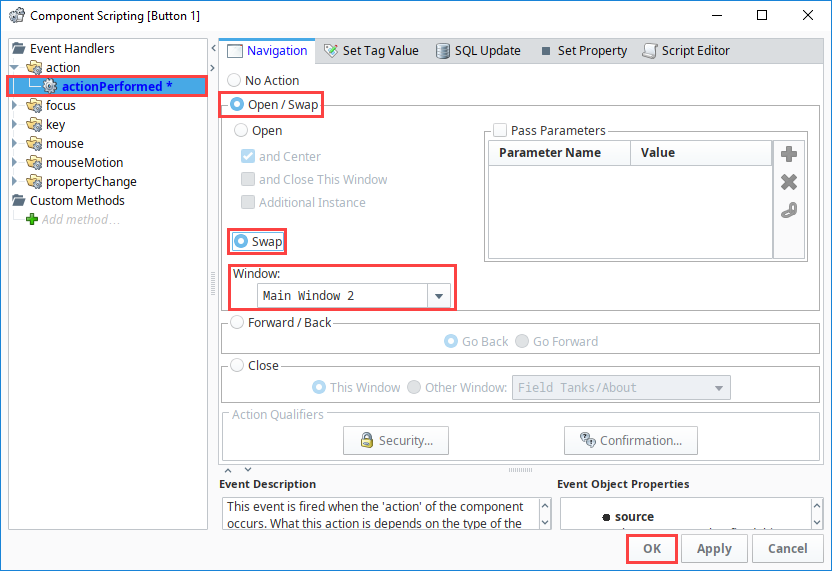
Under the Event Handlers folder, open the action folder and select actionPerformed.
-
Click the Open/Swap and Swap radio buttons. The Swapping function builds a simple script to go back and forth between different windows. The Swap function ensures only one main window will be open at a time.
-
From the Window dropdown box, select Main Windows/Main Window 2.
-
Click OK.
-
-
Save your project.
-
Open your Client. Click on the Main Window 2 button and Ignition swaps the Main Window 1 with Main Window 2.

-
Repeat Steps 2 and 3 to create Main Windows 2 and 3, respectively. On Main Window 2 make sure you have a button for both Main Window 1 and Main Window 3. Set your window path for the Main Window 1 button to Main Windows/Main Window 1 (refer to step 4). For the Main Window 3 button, set the window path to Main Windows/Main Window 3.
-
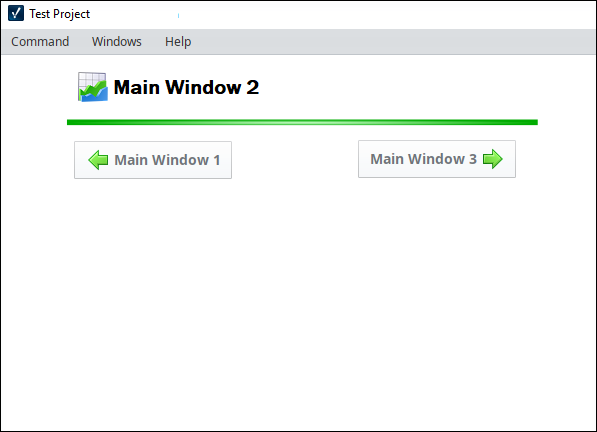
When Main Window 2 is open, the Main Window 1 and Main Window 3 buttons are displayed. Clicking either button opens the respective window.
