Vision Client Tags
Client Tags, as the name implies, are only available for use in Vision Clients. Their values are isolated to a Client runtime. All Clients will have the same list of Client Tags, however, the actual values are unique and independent for each running Client. In other words, even though Client Tags are created in the Designer, each Client will create their own instances. This makes them very useful as in-project variables for passing information between screens, and between other parts of the Clients, such as scripting.
Client Tags support most of the data types that standard tags do (including datasets). Additionally, Client Tags do not have a Tag Group property, so the value will only update when the polling property executes, or a reference in the Client Tag's expression updates.
Often, users will create parameterized windows that take in a line ID or machine name. A Client Tag can store this value for indirection to be used across multiple windows without users on different Clients fighting over the current value as they would with a standard tag.
Client Tags are only available to Vision resources, and are unavailable to Perspective and Gateway-scoped resources. If you are using Perspective, see the Session Properties page for a similar system.
Expression Type
Client Tags can be configured in one of several ways, based on the Expression Type property. The following options are available.
- None: Causes the tag to behave like a Memory tag.
- Expression: Allows the tag to utilize Ignition's Expression Language, much like an Expression tag.
- Query: Executes a SQL Query, similar to a Query tag.
- Named Queries: Client Tags may call Named Queries
Create a Client Tag
This example shows how to create a Client Tag.
-
In the Tag Browser, select Vision Client Tags in the Tag Provider Selector.

-
Click the Add
 icon and select Client Tag. The Tag Editor will open.
 -
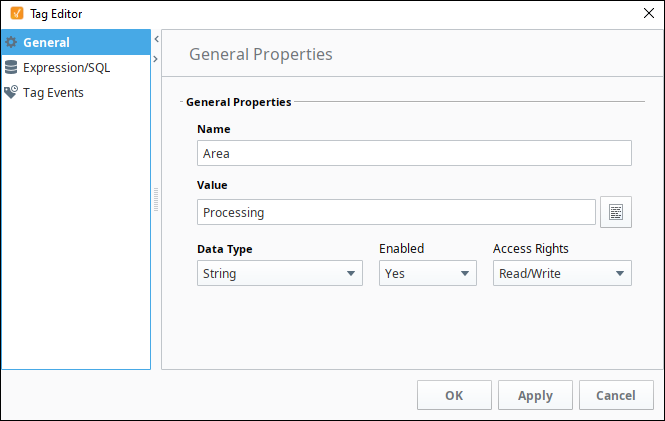
In the Tag Editor enter the following general properties, then click OK.
- Name: Area
- Value: Processing
- Data Type: String
-
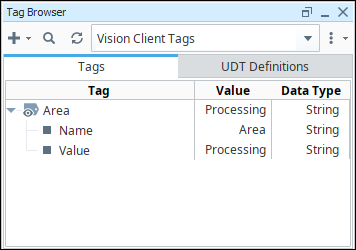
A new tag called Area is created in the Client folder.
Using Vision Client Tags
Once a Client Tag is created, it can be used just like any other tag. You can drag-and-drop, bind to it, use it in scripting, or add it to a Transaction Group.
Overriding Vision Client Tags
When you open a Client, your Vision Client Tags default to the value that was saved in the Designer. If you want to open a Client with different values in your Client Tags, you can override them in the Vision Client Launcher (either for all applications, or an individual application). A Client Tag can be overridden in the Client Tag Overrides section of the Vision Client Launcher.
- Use the Settings button to override a Client Tag in all applications.
- Select Manage on the individual application to override a tag on that specific application.
Client Tags can be overridden within a folder. You can also pass Client Tag overrides with spaces by using a + icon as an escape character. This happens automatically if you are configuring overrides in the Client Launcher.
The following example shows how to override Client Tags on a single application.
-
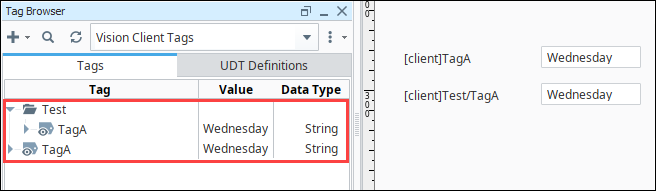
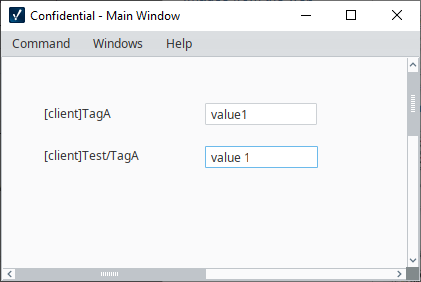
In the Designer, create a Client Tag inside a folder and bind it to something that can be displayed on a window. This example has two tags: one tag is directly under Vision Client Tags folder, and another one under a nested folder. Each TagA tag is bound to a different Label component.
-
Open the Vision Client Launcher. On your application, click the More Options
 icon to open the Manage screen.
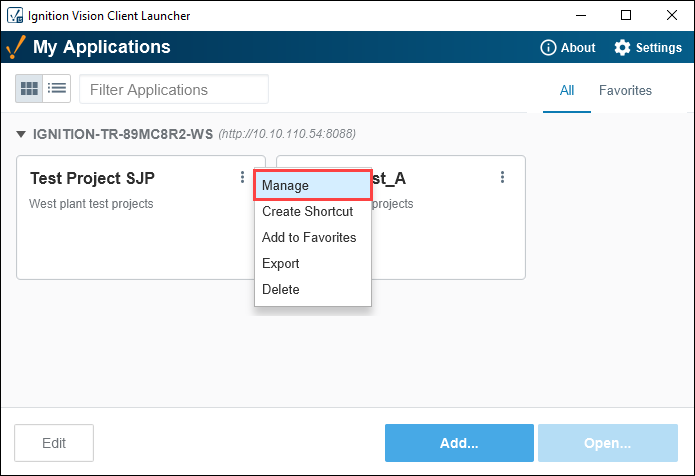
-
Select the Client Tag Overrides tab.
-
Click the Add
icon on the right side of the table to add a tag override. In this example, let's configure two Client Tag overrides. The first TagA is for a Client Tag directly under Vision Client Tags. Enter the Tag Name and Tag Value. -
The second override is for the nested TagA tag. In the Tag Name, the folder name must precede the tag name followed by a forward slash. Notice how the value has a
+that denotes a space. The Launcher will automatically enter the space for you in the Client Launcher when you save your updates. Enter the Tag Name (including the folder name) and Tag Value.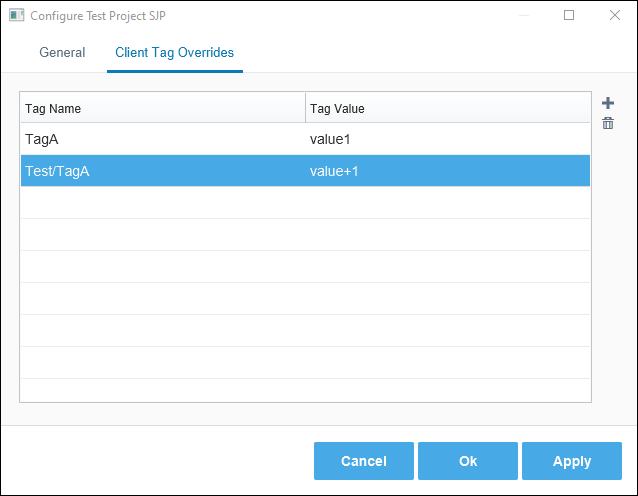
-
Click the OK button. This will take you back to your My Applications screen.
-
Select your project and click the Open button. You will see the new values that you overrode in the Client Launcher.
System Client Tags
System Tags provide status about the Ignition system, such as memory usage, performance metrics, and so on. Every individual Vision Client is going to have its own values like IP address, hosting name, username, and more. You cannot modify System Client Tags. For more information, see System Tags.
