Project Export and Import
Project backup and restoring from a project backup is referred to as Project Export and Import. Projects are exported individually, and only include project-specific elements shown in the list below. They do not include Gateway level configurations, like database connections, Tag Providers, and tags. The exported file (.zip) is used to restore / import a project.
The resources listed below are included in a project export.
- Alarm Pipelines
- Named Queries
- Perspective Properties
- Perspective Views
- Project Properties
- Reports
- SFCs
- Transaction Groups
- Vision Client Tags
- Vision Windows
- Vision Templates
- Client Event Scripts
- Gateway Event Scripts
There are two primary ways to export and import a project:
- Gateway Webpage - exports and imports the entire project.
- Designer - exports and imports only those resources that are selected.
This page describes how to create a project export and import a project from an exported file.
Project Export
A Project Export is a little smaller and takes even less time to run than a Gateway backup! Once you have an exported file of your project, you can take it to any other Gateway and merge it in with the other projects. This makes it simple to keep a development server and push your projects after you complete them. The Enterprise Administration Module can even do this for you. You can perform a project export from two locations, the Gateway Webpage and the Designer. This secton describes how to create a project export from the Gateway Webpage and the Designer.
Export a Project from the Gateway
Making an export from the Gateway Webpage exports the entire project to a .zip file. The exported file only includes resources from the project. Notably missing from the project export are any Gateway resources, even if they are presented in the Designer such as Ignition Tags. They need to be exported separately. Refer to Exporting and Importing Tags.
Remember that tags and Gateway level configurations (such as device connections, database connections, tags, etc) are not included in a Project Backup. Those resources are only exported in a Gateway backup.
-
Go to the Config tab of the Gateway Webpage, and click on System > Projects.
-
The Projects screen will be displayed and you can see your existing projects. To the right of project name, click the More button and select Export. This exports your project as a
.zipfile. The exported file will have the project name, date, and a 4 digit unique number followed by the file extension (i.e., Compressor_2019-03-21_1123.zip).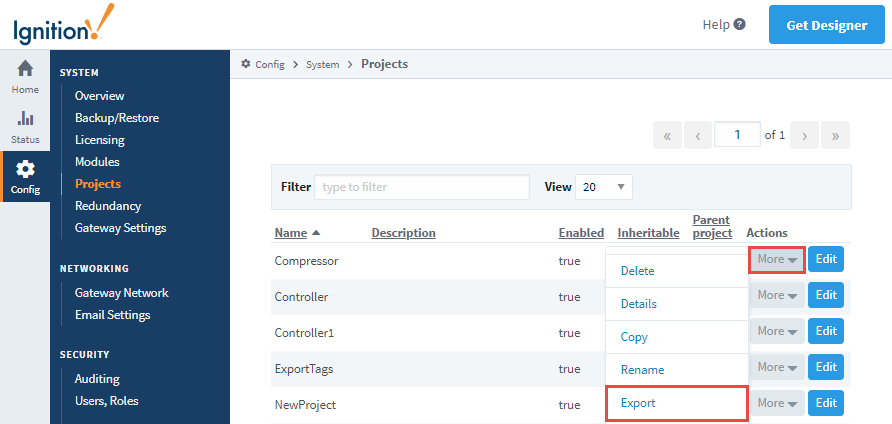
-
By default, the
.zipfile is saved in your web browser's default Downloads folder. This export of the project can be imported to any other instance of Ignition that is running the same version or later.
Export a Project from the Designer�
When making a project export from the Designer, you get to choose which project resources are added to the export file. The export does not include any Gateway resources. When restoring a project export in the Designer, you also get to choose which project resources are restored into the currently open project from the exported .zip file.
-
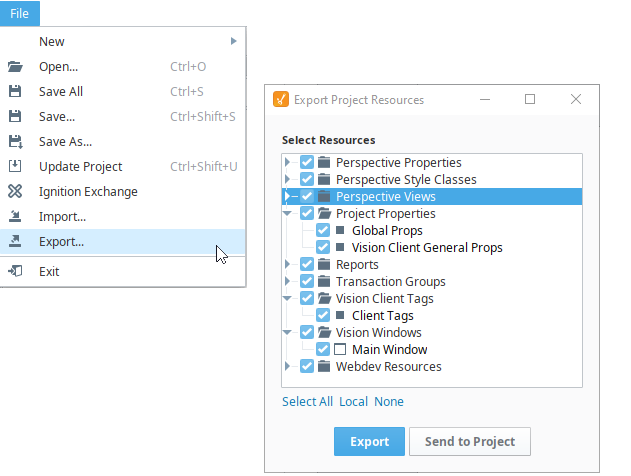
From the Designer, go to the top menubar, click on the File menu and select Export.
-
The Export screen will be displayed and you'll see a list of project resources to export. By default, local project resources are selected. Unselect any resources you don't want to include in the export. When exporting a project, there is a Send to Project button that allows you to directly send the project (or resources in a project) to another project on the same gateway. There is a local project export option, meaning only local (non-inherited) project resources are selected and will be exported.
-
Click Export.
-
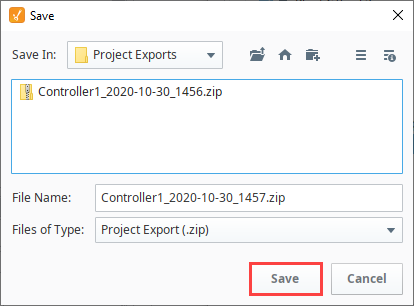
This opens a Save dialog window. Select a folder and click Save.
-
This export of the project can be imported to any other instance of Ignition that is running the same version or later.
Project Import
When you restore / import a project from an exported file in the Gateway Webpage, it will be merged into your existing Gateway. If there is a naming collision, you have the option of renaming the project or overwriting the project. Project exports can also be restored / imported in the Designer. This will even allow you to select which parts of the project import you want to include and will merge them into the currently open project.
Import a Project from the Gateway Webpage
When restoring a project from the Gateway Webpage, Ignition imports the entire project from an exported file.
-
Go to the Config tab of the Gateway Webpage, and click on System > Projects.
-
The Projects screen will be displayed and you can see your existing projects. At the bottom of the screen, click the Import project... link.
-
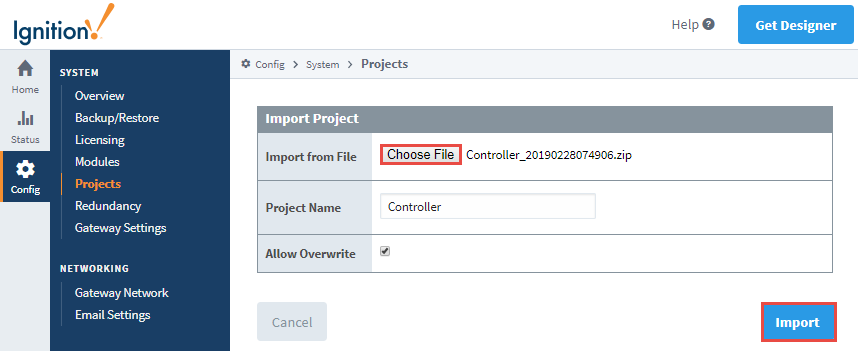
A second Projects screen will open. Click on Choose File, find your exported .zip file from your browser, and then click Open.
-
Enter the Project Name. If there is already a project with the same name, the Import button will be grayed out preventing you from importing the file. The system gives you the option to Rename the project you want to import, or Overwrite the existing project.
-
Click Import.
-
If you are importing a new project, you will see your new project added to the list along with the other projects.
Import a Project from the Designer
When restoring a project from the Designer, you can select the entire project or parts of the project, and merge them into the one you are currently working on. Ignition will let you choose which resources to import.
-
In Designer, select File > Import.
-
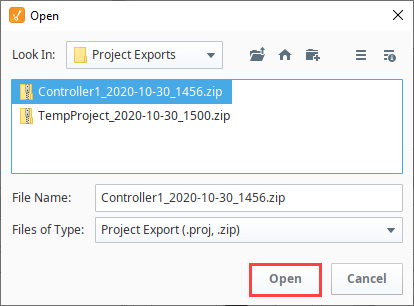
The dialog screen will open, select the project export file (.zip) from the default folder, and click Open.
-
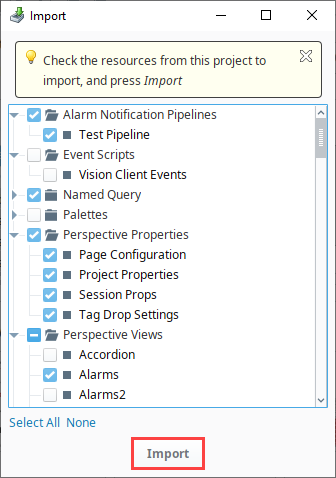
By default, all resources are selected. Unselect the resources from the project that you do not want to import. Click the Import button.
-
If there are any conflicts when importing your project resources, a dialog box will appear and ask you to either Overwrite, Overwrite All, Skip, Skip All, Rename the affected items, or Cancel. Once all conflicts are resolved, Save your project.
