Project Settings
Project Settings
When you create a new project, the Open/Create Project window captures most of the project settings. See Creating a Project in the Designer. If you want to view or edit your project settings once your project is saved:
-
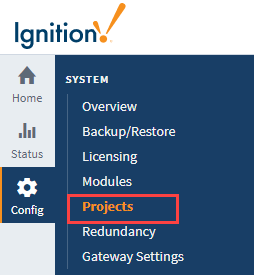
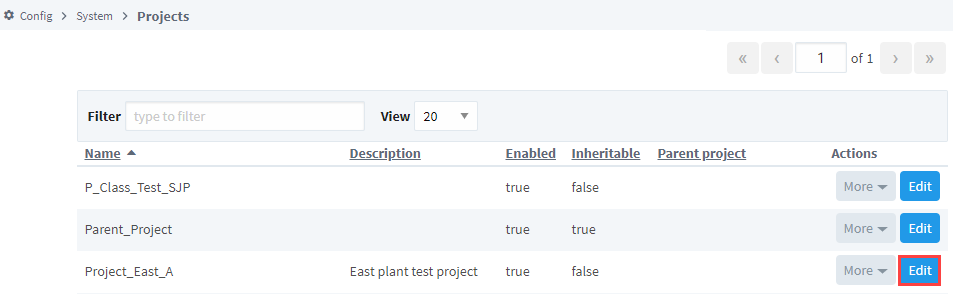
Go to the Config section on the Gateway Webpage and select System > Projects.
-
Click on the Edit to the right of the project name.
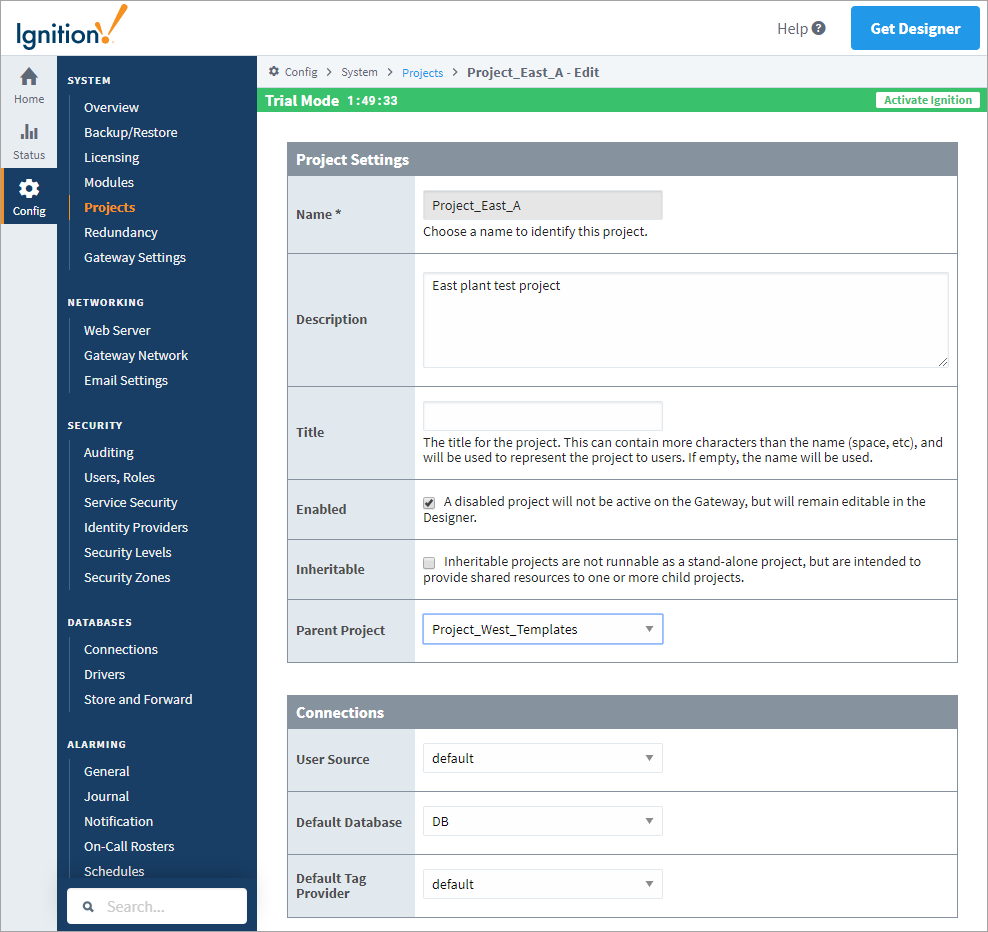
Now the Project Settings page is displayed.
Project Settings Table
Project Settings
| Property | Description |
|---|---|
| Name | Name of the project (read only). |
| Description | Brief description of the project (optional). This description can be viewed on the Open/Create Project screen when you hover over the Information |
| Title | Title for the project (optional). This is the name that will be displayed on the launch page of the Gateway and in the runtime Client or Session. There are no restrictions to special characters or spaces. If no title is specified, the project name will be used instead. |
| Enabled | A disabled project will not be active on the Gateway, but will remain editable in the Designer. |
| Inheritable | Inheritable projects are not runnable as a stand-alone project, but are intended to provide shared resources to one or more child projects. |
| Parent Project | Each project can have a parent project, and will inherit all of the resources of that parent project. |
Connections
| Property | Description |
|---|---|
| User Source | A group of users with their associated roles. Security policies are defined in terms of these roles. |
| Default Database | Database to be used for historical data logging, reporting, storing alarm logs, and Tags storage. You can also query existing data and update data in the database. |
| Default Tag Provider | Identifies a Tag database (a collection of Tags) and a name. |
Managing Projects
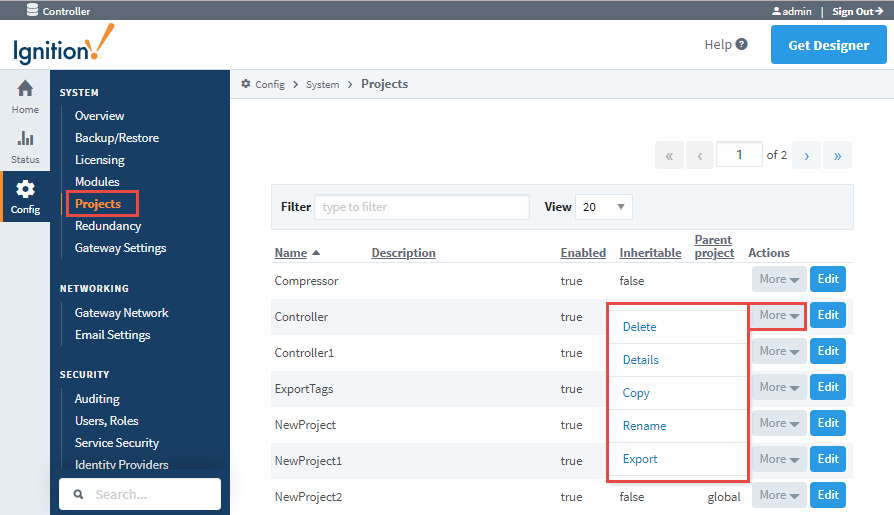
Once you have a project or two (or twenty) set up, you might want to change some of the base settings. You can manage the projects from the Config section of Gateway by going to System > Projects. The Projects window displays all your projects. To the right of the project name, click the More button, and here you can Edit, Delete, view Details, Copy, Rename or Export your project.
You can manage many of these settings in the Designer. See the Project Properties page for more information.
Viewing the Details of a Project
To view the project details, go to the Config section of the Gateway webpage, and select System > Projects. Find your project, press the More button to the right of the project name, and select Details. The Details link on the Project window takes you to the Project details for <Project Name> page where you can choose to view the Project Settings.
Editing a Project
To edit some of the project settings, go to the Config section of Gateway, and then to System > Projects. You will see a list of all your projects. Click Edit to the right of project name in the list. The Project - Edit page is displayed. You can now change some of the project settings such as project Description, Title, Enabled, etc. You can also change connections to the User Source, Default Database, and Default Tag Provider.
It is not advisable to change the Project Name after it's been created, instead, change the Title property if you want to change how the project appears. Shortcuts that refer to the project will no longer work if the project name is changed.
Many of these settings can be modified in the Designer too, but it is important to note that you cannot change any of these project settings from the Gateway if the project is currently open in a Designer.
Deleting a Project
Be aware that once you delete a project, it cannot be undone, a deleted project is gone forever (unless it can be recovered from a project export, or a Gateway backup). Always make a project export or Gateway Backup before deleting a project. To delete a project, go to the Config section of Gateway, and then to System > Projects. You will now see a list of all your projects. To the right of the project name in the list, look for Delete and click on it. This deletes your project.
Copying a Project
Copying your project is useful when you need a snapshot of a project before starting major changes, or for creating a starting point for a new project based on an old one. To copy a project, go to the Config section of Gateway, and then to System > Projects. You will now see a list of all your projects. To the right of the project name in the list, click Copy. This creates a copy of your project.
Renaming a Project
Changing the name of a project is risky. Shortcuts that refer to the project will no longer work. It is advisible to change the Title which is much safer. If you decide to rename a project, go to to the Config section of Gateway and then to System > Projects. To the right of the project name in the list, click Rename. This will open a Rename Project window. Read it carefully, and if you want to proceed, enter a new project name, mark the checkbox acknowledging that the project will shutdown and restart, then click Save.
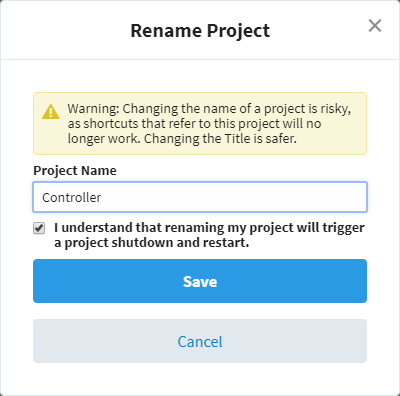
Renaming a project triggers a project shutdown and restart.
Exporting a Project
Project Export is a project backup. It takes less time than a Gateway backup and it's smaller. This exports your project as a .zip file. Once you have an exported file of your project, you can take it to any other Gateway and merge it in with other projects. Refer to the Project Export and Import page to learn exactly what is included in a project export.