3. Navigating in a Perspective Session
A Page is the main navigational element in a Perspective Session and represents a collection of views that are displayed in a browser window. When we created the two views in the Creating Views and Adding Components section above, we also configured the Page URL associated with each new view. You have the option of configuring the Page URL in a separate step if you don't want to do it at the time you create your new view. This is addressed in Pages in Perspective.
-
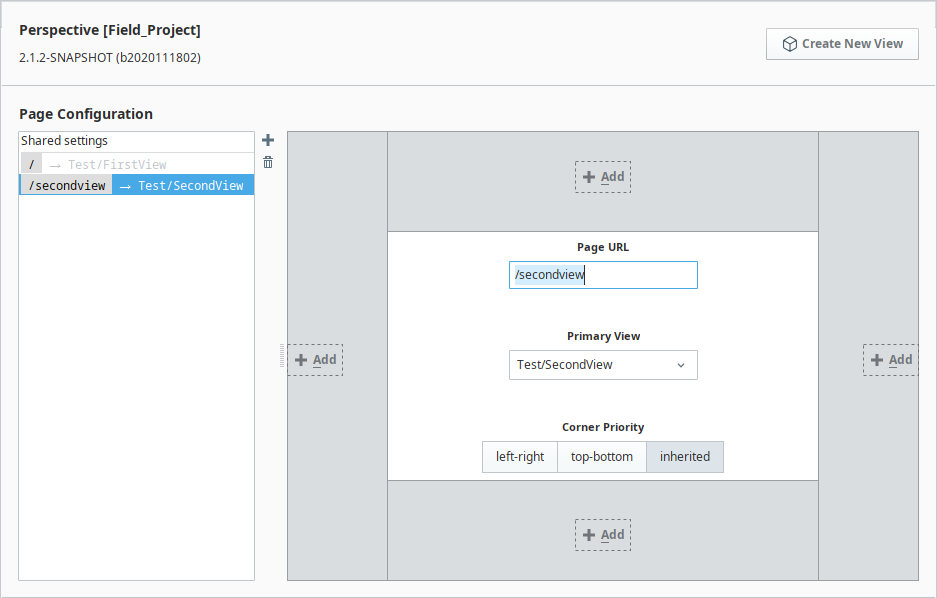
Open the Page Configuration by clicking the Tool icon (
 ) tab at the bottom left corner of your Designer workspace. You'll notice that the two views (i.e., FirstView and SecondView) also have their Page URLs created. This was done at the same time we created each view.First View Mounted to the Root
You'll notice the first View created in a project is automatically mounted to the root. The FirstView defaulted to "/" which denotes a "root" page.
-
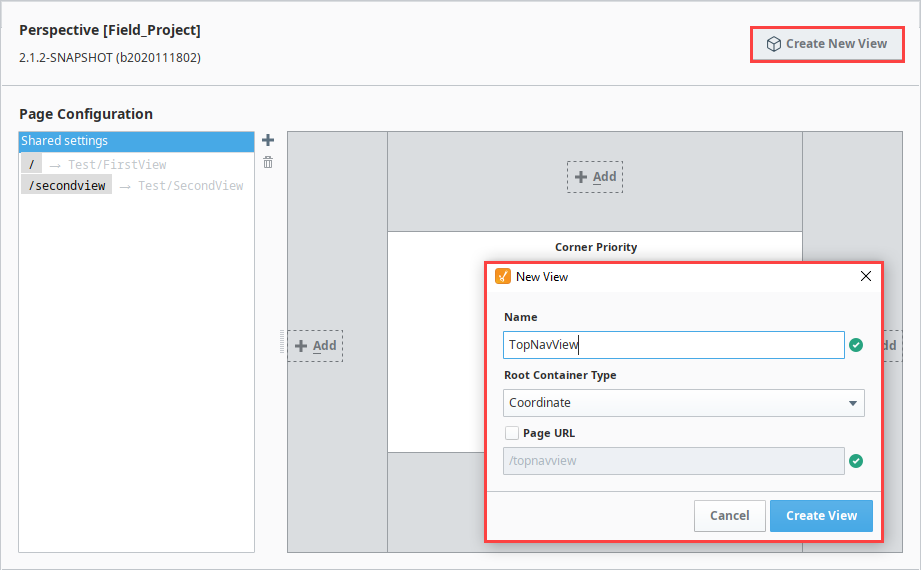
Now, let's create a navigation view (i.e., TopNavView) to be shared by all pages in our project. This page will contain components that will link to different pages, allowing users to navigate from one page to another in a Perspective Session.
- At the top of the Page Configuration, click on Create New View (i.e., TopNavView).
- Use the default Root Container Type (i.e., Coordinate).
- Do not check the Page URL checkbox to create the URL page. This isn't necessary because it is a shared setting.
- Click Create View.
-
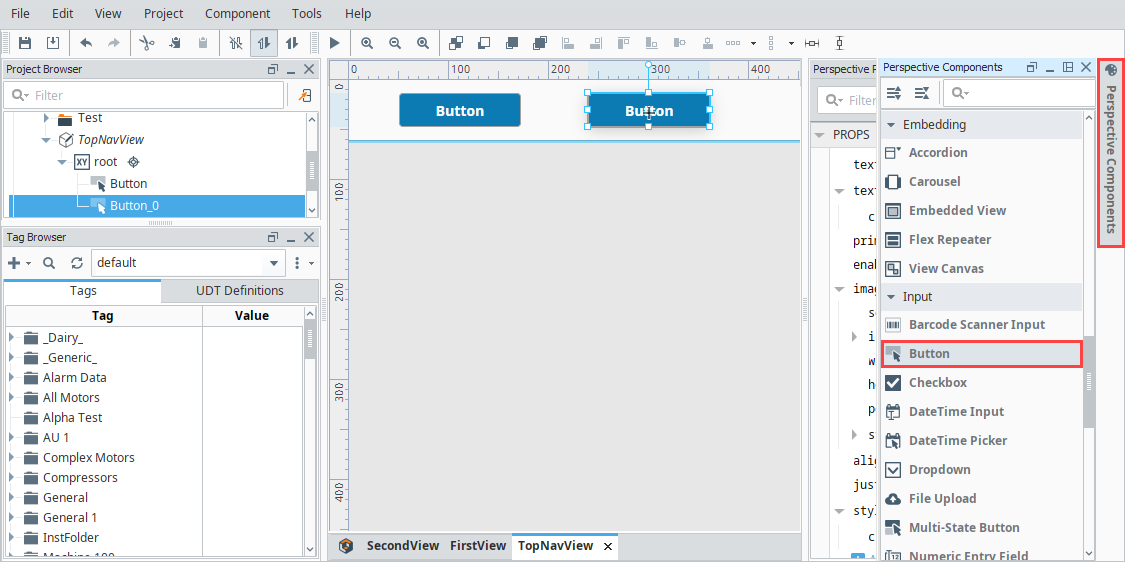
Go to the Project Browser and select your new view (i.e, TopNavView). This will show the handles for resizing the view. Resize the root container so the view looks like a banner or bar at the top of the workspace.
-
Add two Button components to navigate between pages. You can drag two Button components from the Perspective Component Palette or drag one in and duplicate (Ctrl D) the first Button.
-
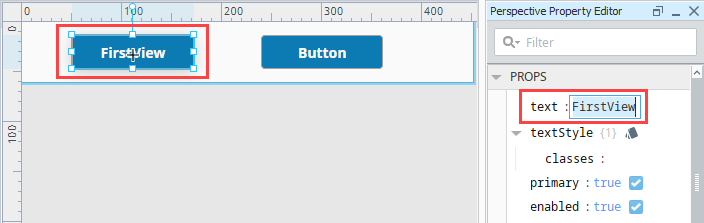
Assign each Button component unique text. Select the first Button component, and change the text property to FirstView in the Perspective Property Editor.
-
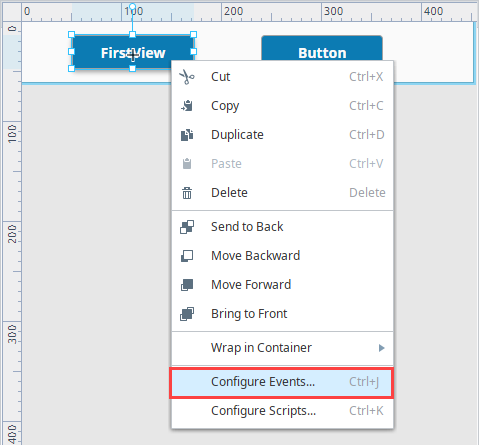
With the FirstView button still selected, right click and choose Configure Events... (You can also click Components on the top menubar and choose Configure Events...).
-
This opens the Event Configuration on Button window.
-
Expand Mouse Events and select onClick.
-
Under Organize Actions, click the (
 ) icon and select Navigation from the dropdown.
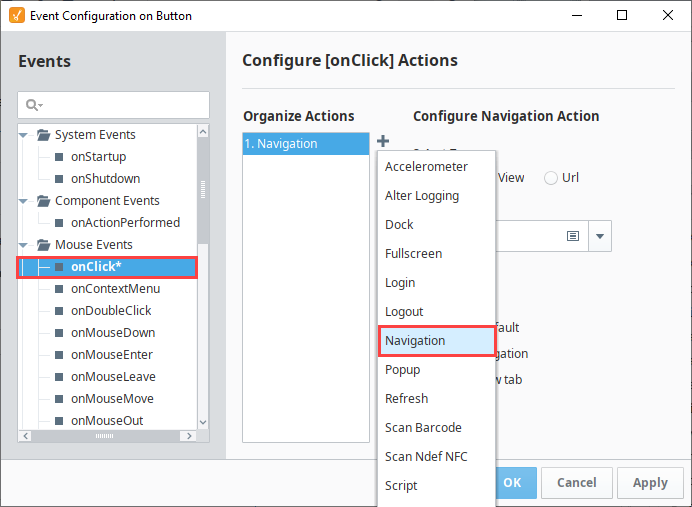
-
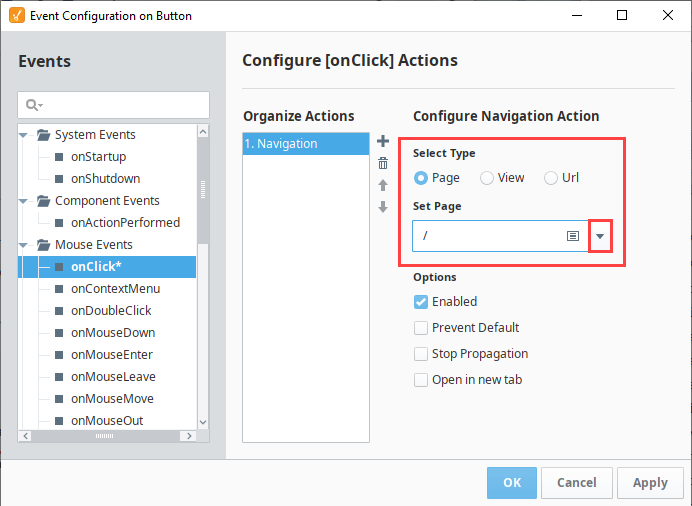
Under Navigation Mode, click Page, and select the / from the dropdown which is the Page URL for the FirstView.
-
Click OK.
-
-
Repeat steps 3 and 4 for the second Button component:
- Select your second Button component, and change the text property to SecondView in the Perspective Property Editor.
- With the SecondView button still selected, right click and choose Configure Events....
-
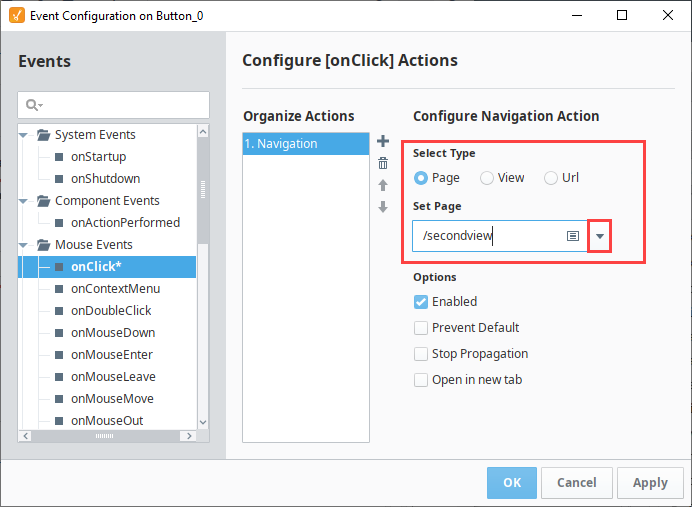
The Event Configuration on Button_0 window will open.
-
Expand Mouse Events, and select onClick.
-
Under Organize Actions, click the (
) icon and select Navigation from the dropdown. -
Under Navigation Mode, click Page, and select the /second from the dropdown which is the Page URL for the SecondView.
-
Click OK.
-
-
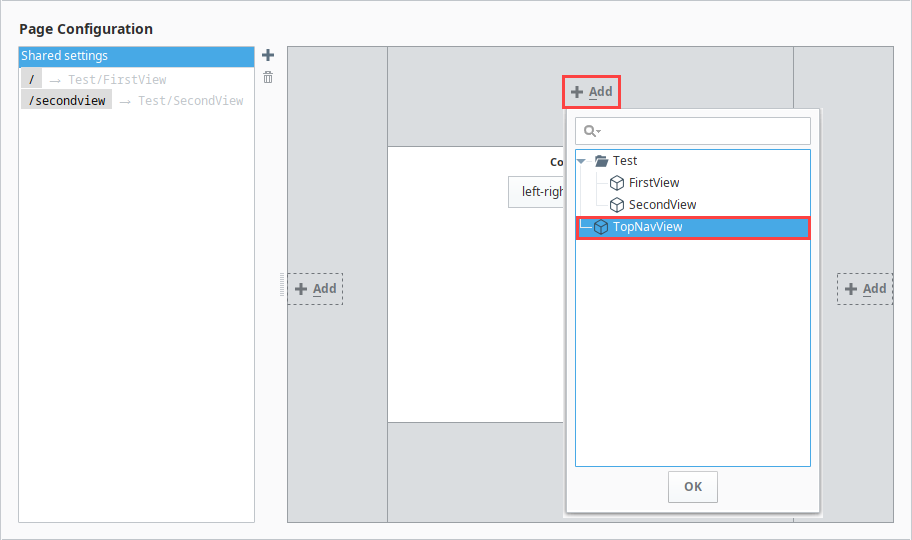
Set the navigation view (i.e., TopNavView) as a docked view so it appears on the top of every page in your project.
- Click on the Tool icon () at the bottom of your Designer workspace to open the Page Configuration.
- Select Shared Settings under Page Configuration, click on the Add button at the top of the Page Layout.
- Select your navigation view (i.e., TopNavView) from the dropdown, and press OK.
noteIf the dropdown is empty or you are missing views, the pages (not views) were never created. Go back to Step 2 and configure your pages. Once your pages are configured, you will see them in the dropdown list.
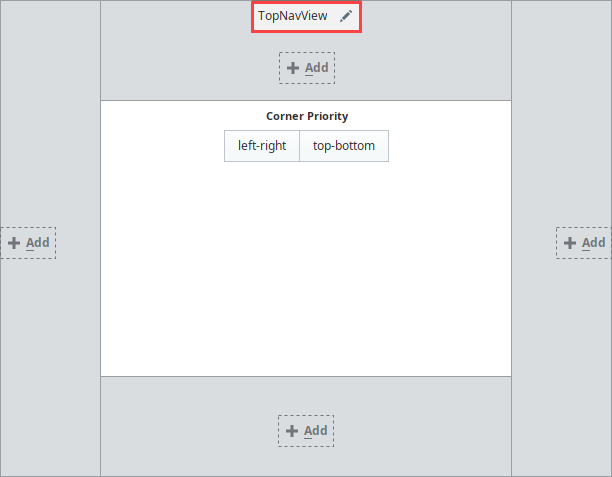
Your navigation view (i.e., TopNavView) will appear at the top of your page layout.
- Click on the Tool icon (
-
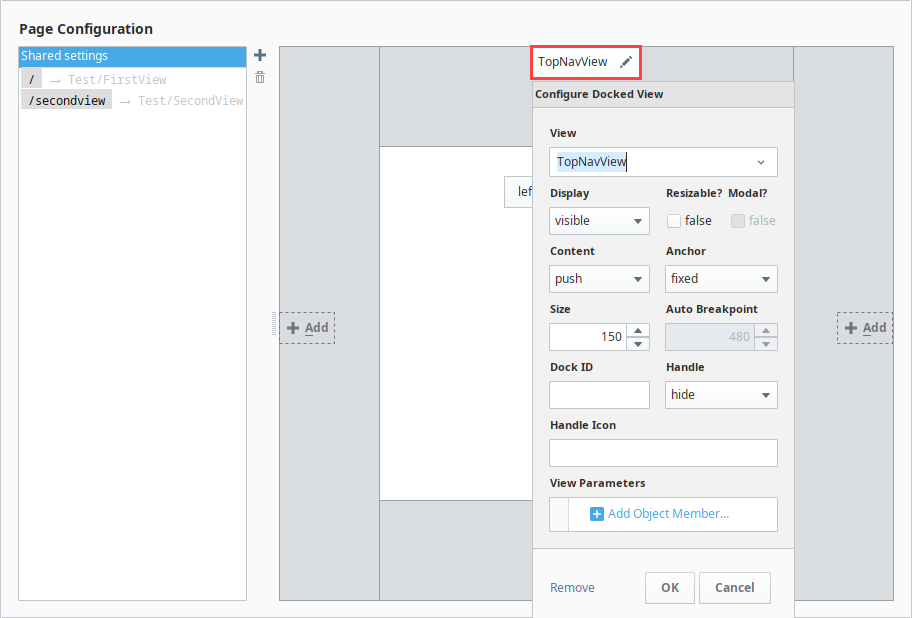
You can edit any of the docked view properties by clicking on the name of view in the page layout. Edit any of the properties and click OK. Regardless of your TopNavView's height, the Size property here will determine the height of the view in your session.
-
Save your project. Now the TopNavView will be shared on all the pages of your Perspective Session.