5. Open the Designer
Now that you set up a device (Connect to a Device) and database (Connect to a Database) connections, let's open the Designer and create a project.
Launch the Designer
-
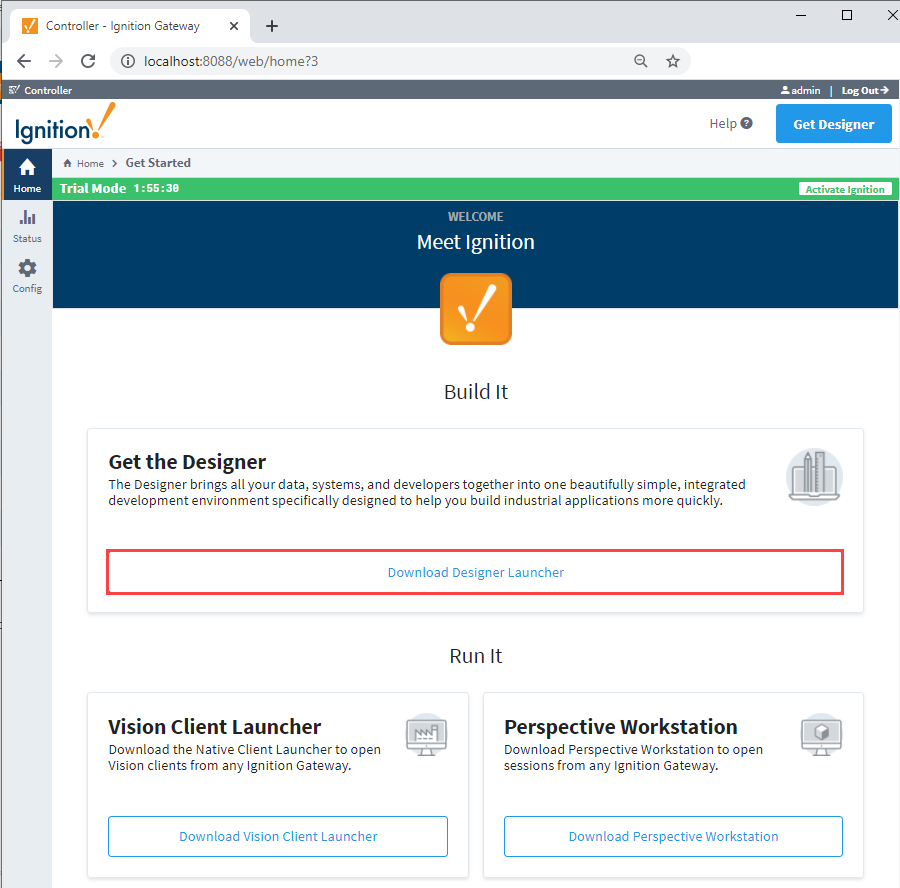
If you are already logged into Ignition, then go to the Home tab of the Gateway Webpage, otherwise login as the user with full / administrative privileges.
-
Under Get the Designer, click the Download Designer Launcher button.
-
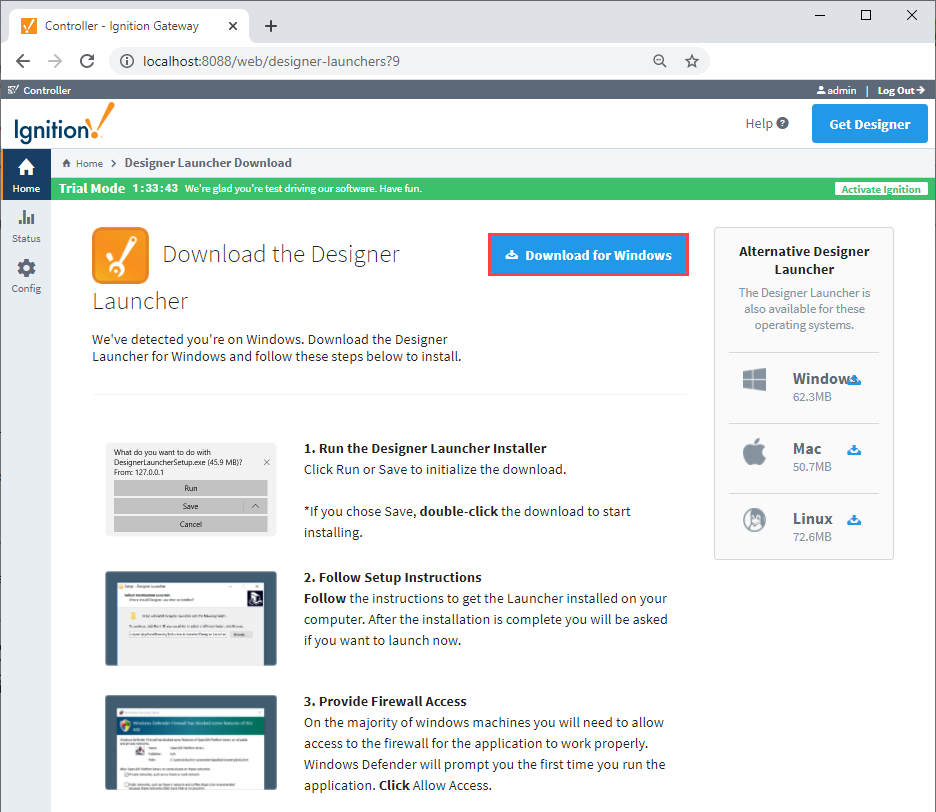
Select the Download button for the platform you are running on: Windows, Mac OS, or Linux. In this example, we are running on Windows.
-
Run the downloaded file (DesignerLauncher.exe) found on the lower-left of the window, or go to your downloads folder and double-click the file to run it.
-
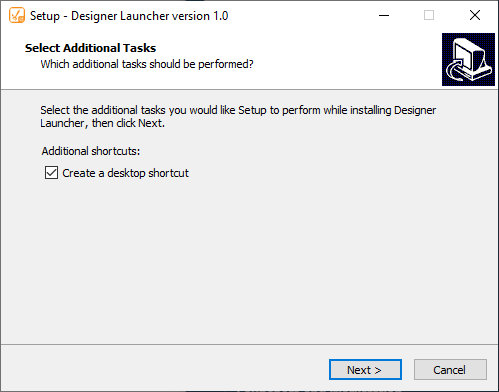
The Select Additional Tasks window will open. Here, you can select additional tasks that you would like to set up to perform while installing the Designer Launcher. It's a good idea to Create a desktop shortcut so it's easily accessible when you want to open the Designer Launcher. Click Next.
-
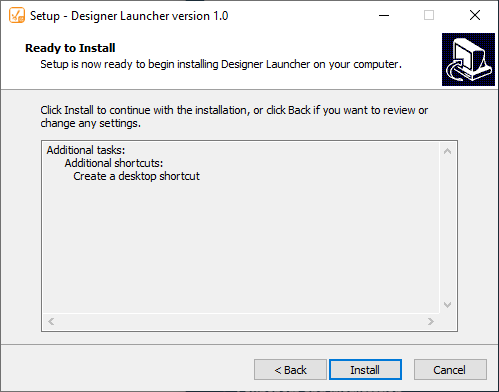
Now, you're ready to install the Designer Launcher on your computer. Click Install to continue.
-
Once the Designer Launcher is installed, complete the setup by checking the box to Launch Designer Launcher and click Finish.

-
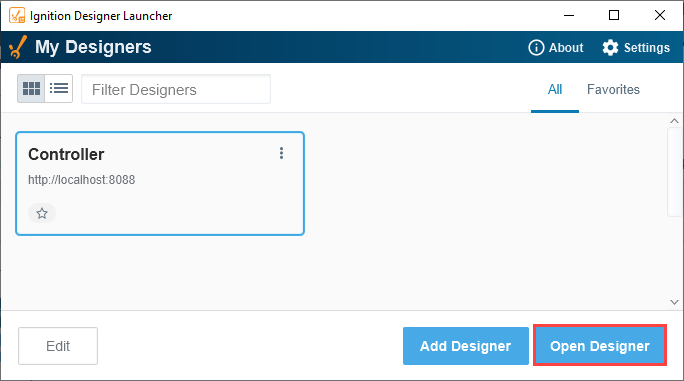
The Ignition Designer Launcher window will open. Here you can select any Designers you have permission to launch. If you are running this for the first time, by default, you will need to add a Designer. Click Open Designer to launch an existing Designer. Refer to the Launchers and Workstation page for detailed information on adding a Designer, including creating a Designer Shortcut, adding to Favorites, and more.
-
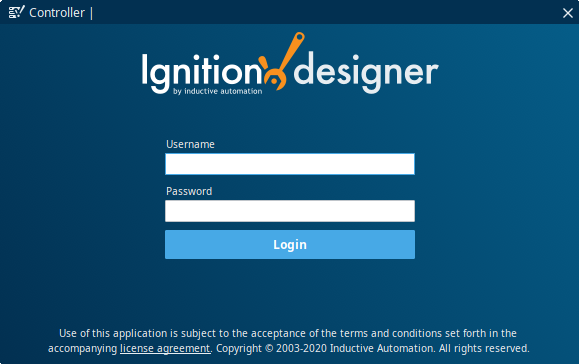
The Designer starts up and the login window is displayed. Enter the credentials for the administrator or user with full privileges for the Designer, and click Login. It should be the same as the login for the Gateway Config section.
Create a Project
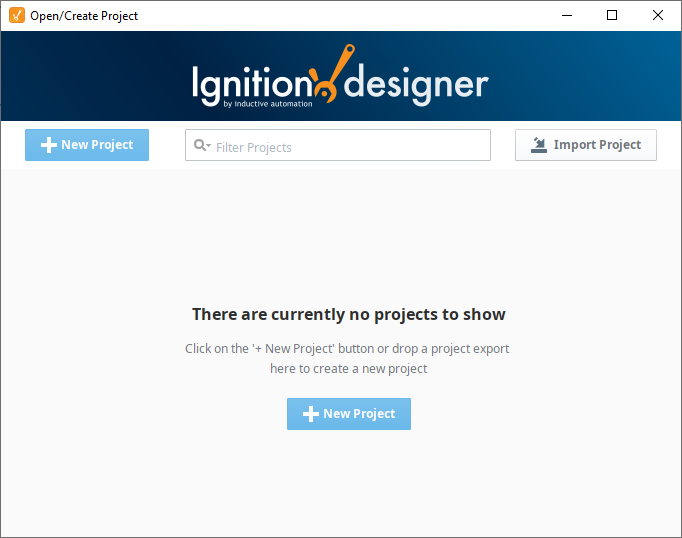
After logging into the Designer, the Open/Create Project window gives you two options, to create a new project or open an existing one. As we don't have any existing projects yet, we will create a new project.
-
Click + New Project. This opens the New Project Setup window.
-
Enter the Project Name (required) and any other configuration settings you need for your project. Most settings are optional.
Refer to the Project Creation Settings table for a description of each property. When finished, click Create New Project.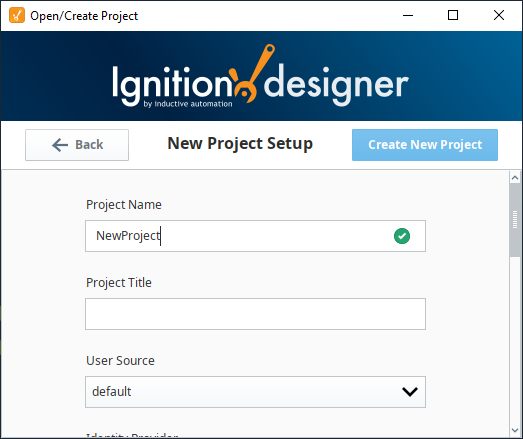
-
When you open the Designer interface for the first time, the Perspective Page Configuration opens if you have the Perspective Module installed. If you don't have the Perspective Module installed, the Vision Designer window will open. You can begin designing in either Perspective or Vision from the Designer interface, as shown in the image below. Expand the Perspective and Vision folders and you'll notice that the folder contents are different. In Perspective, you add components to Views. In Vision, you add components to Windows.
Click here to learn more about the Designer.