1. Creating Views and Adding Components
In Perspective, views are the primary unit of design and a container provides a way of organizing and laying out components within a view. There are a variety of container types that support different layout strategies.
To keep this example simple and get you started creating your first view, we used a Coordinate container type. This example requires that you are connected to the Programmable Device Simulator and set the program to Generic.
-
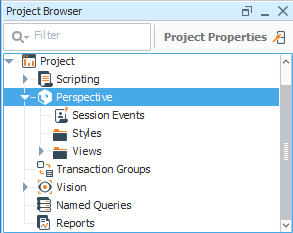
With the Perspective Designer open, go to the Project Browser and expand Perspective.
-
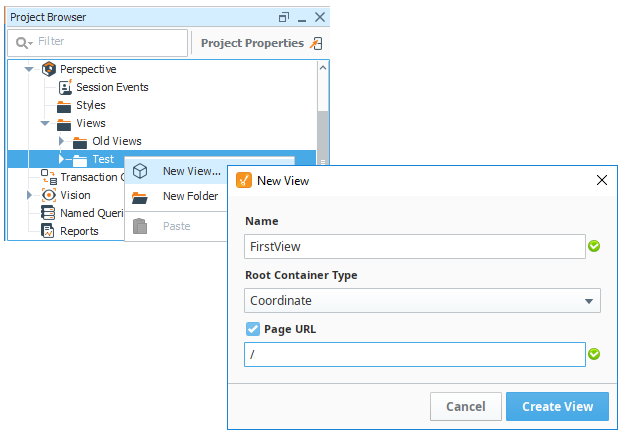
In the Project Browser, click on the Views folder and right click on New View....
- Select a Root Container Type from the dropdown. Select Coordinate container type.
- Check the Page URL checkbox if you want your view attached to the Page URL.
- Click Create View.
Match the URL with the Folder StructurePerspective will match the Page URL with the View's folder structure upon creation. In the example below, the FirstView was created in the Test folder. Perspective knows to match the URL to the View.
 note
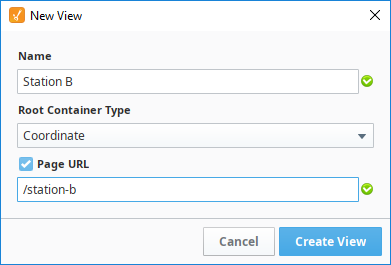
noteIf your View Name contains a space, such as "Station B", the Page URL will replace the space with a hyphen. The Page URL automatically gets filled in when the View Name is typed in.
-
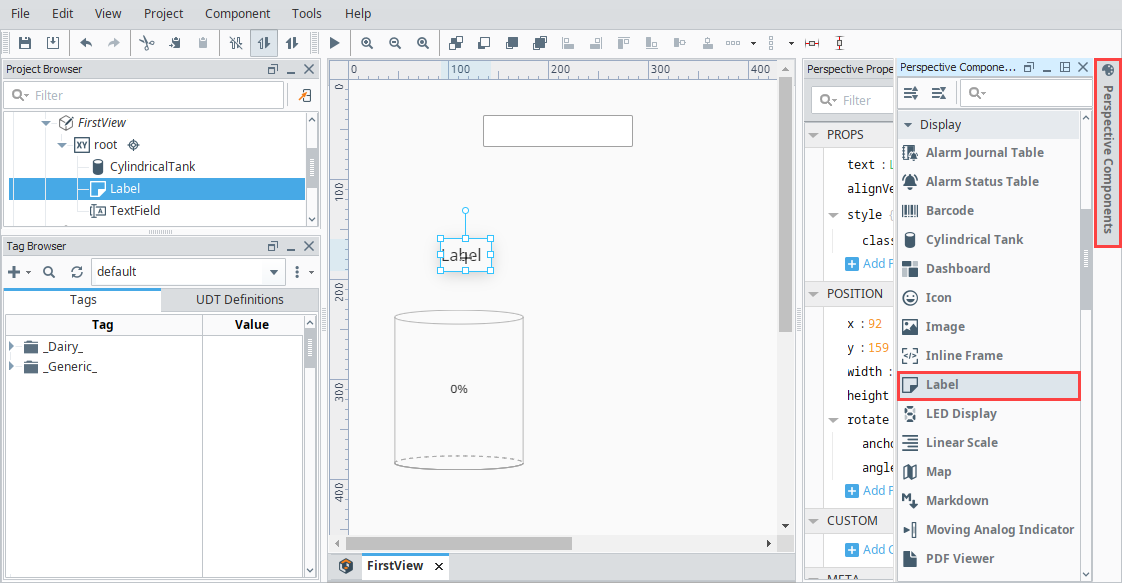
The Designer will refresh and now you're ready to begin adding components into your view. On the right side of the Designer, click on the grayed out Perspective Components banner to open the Components Palette. Drag the Text Field, Label, and Cylindrical Tank components into the View.
-
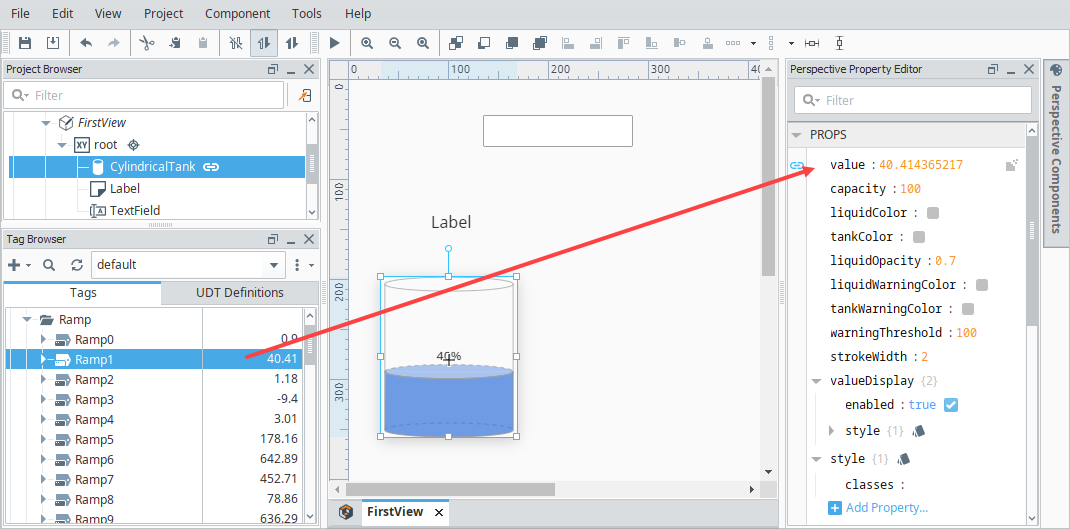
To add Tag values to each of the components, click on the component and enter the value in the Perspective Property Editor, or drag a Tag to the value property.
-
Cylindrical Tank: Drag a Tag from your Tag Browser on to the value property. This example uses a Ramp1 tag.
-
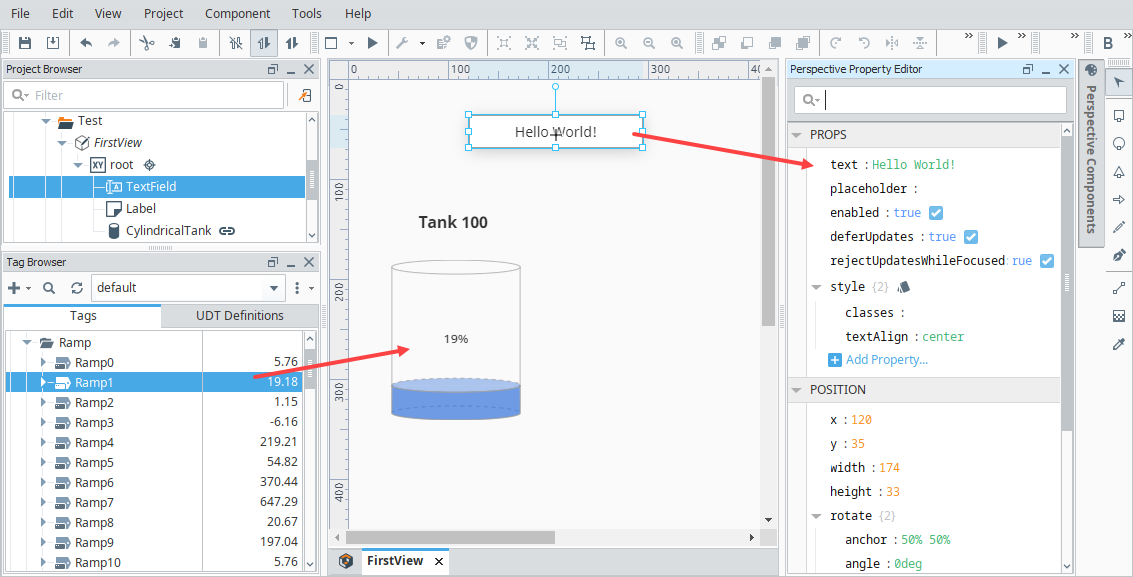
Label: Enter Tank 100 next in the Text property field.
-
Text Field: Enter Hello World! in the Text property field. While the component is selected, you can also click and drag the arrow handles to resize them and move them in the Designer workspace.
-
-
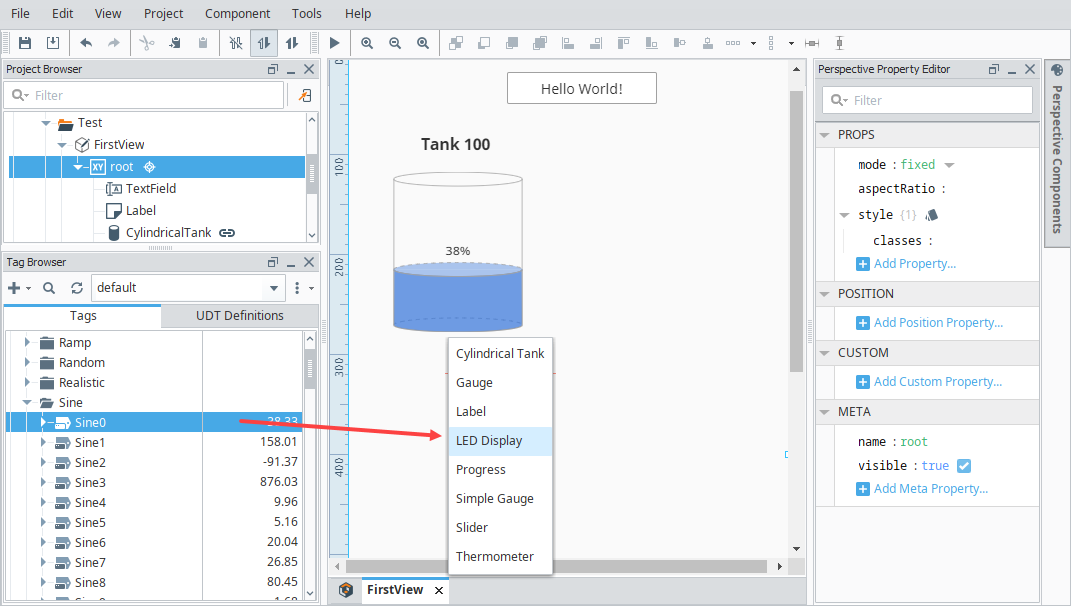
Another way and the simplest way to add a Tag to a component is to go into the Tag Browser, select the Tag (i.e., Sine0) you want and drag it into your view. A pop-up will appear giving you several selections for components to use. We selected an LED Display to show our tag value.
-
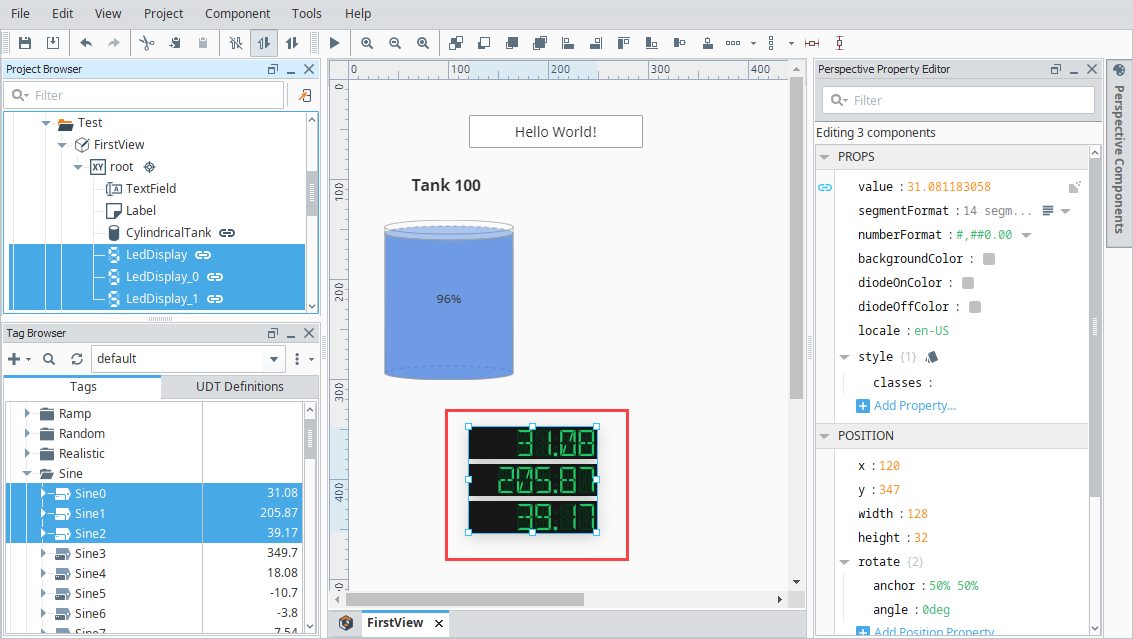
Repeat that process to create two more LED Displays using Sine1 and Sine2.
-
Save your project by selecting File > Save.
To learn more about bindings, go to the Bindings in Perspective page.