Pipeline - Simple Loop
To learn more, go to Configuring Alarms, Alarm Notification, and On-Call Rosters.
How to Create a Looping Alarm Notification
You can create a loop in an alarm pipeline to notify users continuously until the alarm is dealt with. It is important to pay close attention to your dropout conditions when you are creating a loop. If you remove all dropout conditions the loop will continue until the alarm pipeline is manually stopped from the Gateway Webpage.
There are two pipeline blocks that we need to create a loop. The Notification Block to send a notification, and the Delay Block to create a pause between each notification.
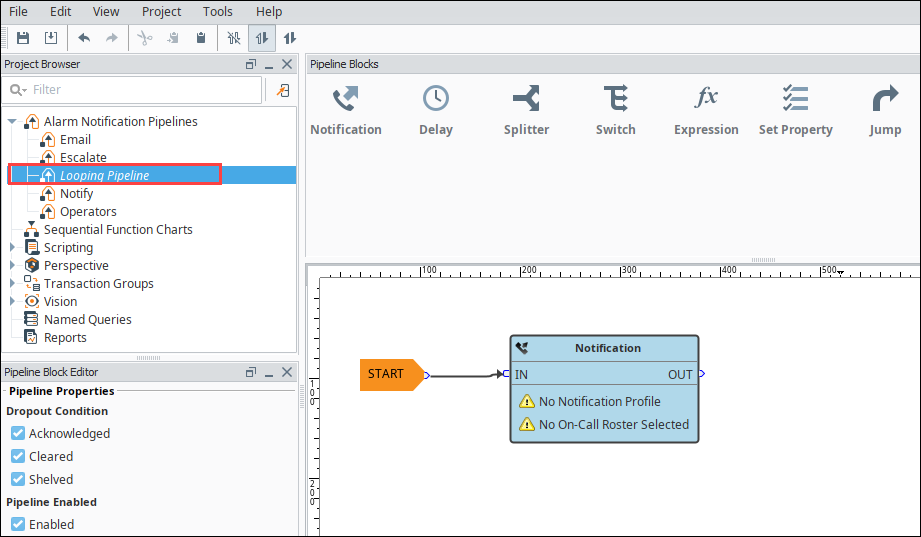
In this example, we will use the default settings for the Dropout Conditions. All three options (Acknowledged, Cleared, and Shelved) will remain checked.
-
Drag in the Notification Block in to your pipeline, and connect the Start to the IN handle of the Notification block. You will need to set up your Notification block, but you can see more about that on the Notification Block page. This will cause the pipeline to notify immediately then move on.
-
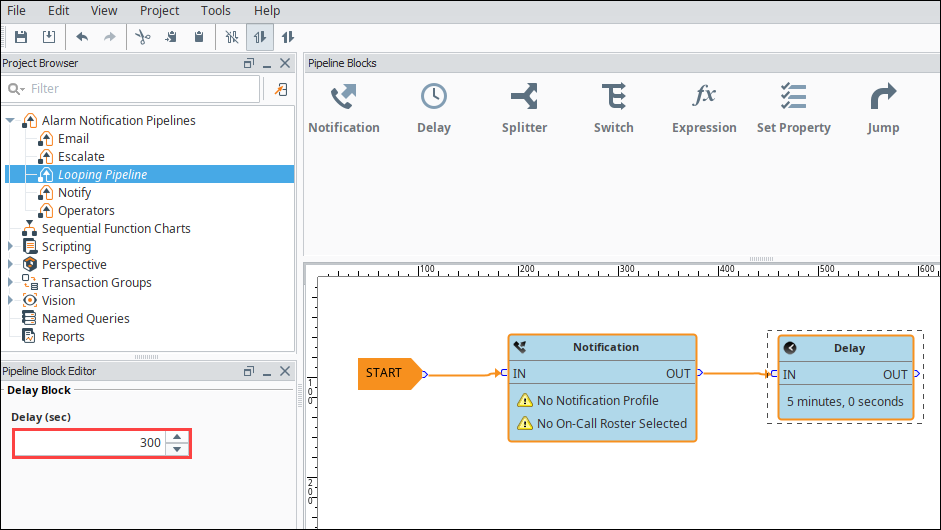
Drag a Delay block onto the pipeline and set the Delay (sec) property. We will chose 300 seconds (5 minutes).
-
Connect the two blocks by dragging from the OUT handle of the Notification block to the Delay block. Then, create a second connection by dragging from the OUT handle of the Delay block to the Notification block.
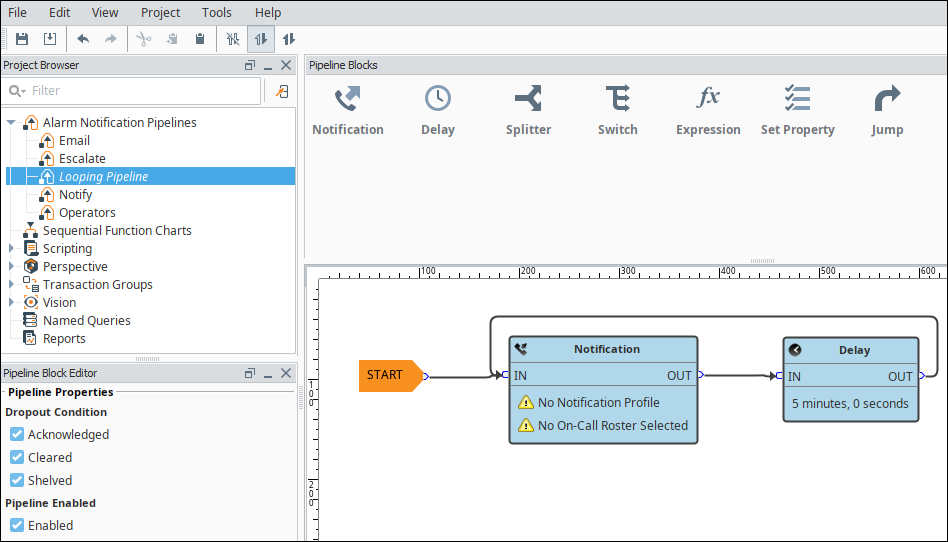
Now you have a pipeline that will notify immediately, wait 5 minutes, then notify again, and repeat until one of the dropout conditions is met.
You can use this technique with escalation to notify five times then change to another pipeline.