Security Zones
A Security Zone is a list of Gateways, Computers, or IP addresses that are defined and grouped together. This group now becomes a zone on the Gateway Network, which can have additional policies and restrictions placed on it. While Users and Roles restrict access to specific functions within the Gateway like making certain controls read-only for certain users and read/write for others, Security Zones provide this functionality to the Gateway Network, limiting locations instead of people to be read-only for specific actions. This allows for greater control over the type of information that is passing over the network, improving security and helping to keep different areas of the business separate, while still allowing them to interconnect.
Using Security Zones
Sometimes, in addition to knowing who the user is, it is important to know their location. An operator may have permissions to turn on a machine from an HMI, but if the operator is logged into a project on a different Gateway in the network that has remote access to those Tags, it might not be a good idea to let the operator write to those Tags from a remote location. The operator can't see if the physical machine is clear to run.
This is where Security Zones come in. While Security Zones themselves don't define the security, they instead define an area of the Gateway Network, breaking up Gateways and network locations into manageable zones that can then have a Security Policy set on them. Once there are zones defined, a Security Policy can be assigned to each zone, and a priority of zones can be set in the event that more than one zone applies in a given situation.
When using zone-based security in a project, the project stores the name of the security zone as a string. This means that if you were to modify the name of the zone in the gateway, the zone-based security in your project will not update to reflect the new name, and instead will try searching for a zone with the original name. Be very careful when modifying the names of security zones.
A connection must pass all of the qualifier checks before being accepted into a Security Zone. So if Require Secure Connection was checked, and Allow Client Scope was not, any requests coming from Clients would be rejected even if they are secure, and the same goes for any non-secure connections coming from sources other than a Client.
Requests can be a part of more than one zone, depending on how the zones are set up. This can be useful for making a whole section of IP addresses read only, but a specific Gateway in that IP address range may be listed specifically in another zone, which can be given read/write access. Any connection which does not fall into one of the zones will be placed in the Default zone.
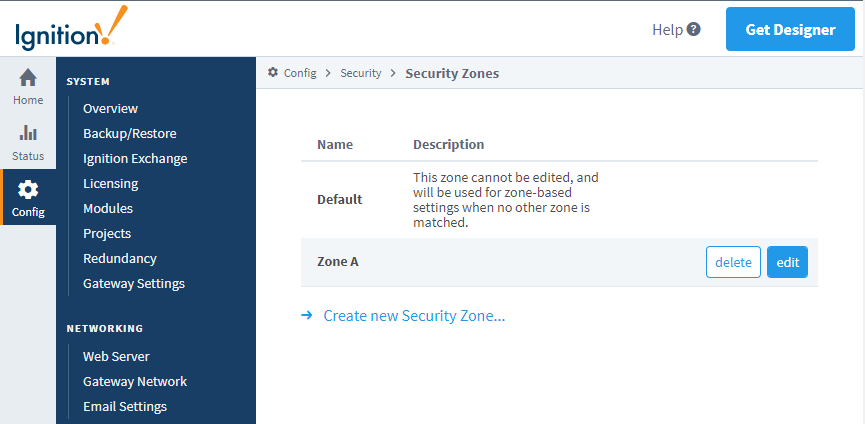
Defining a Security Zone
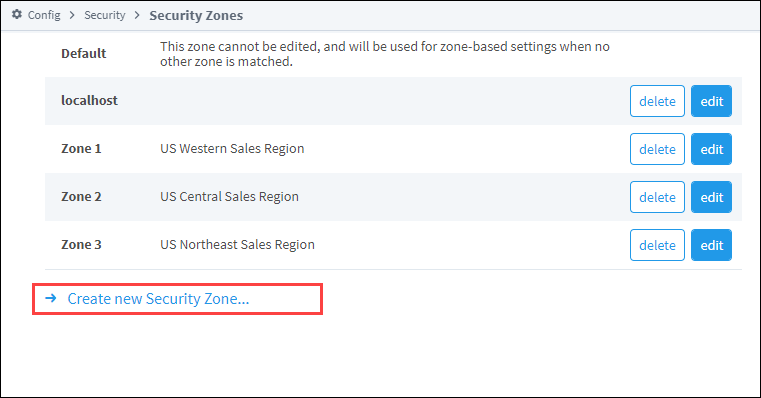
When setting up a new Security Zone, it is a good idea to set up a Gateway Network first if you haven't already. While Security Zones can be defined and used without a connected Gateway, they work best when used in conjunction with other Gateways on a Gateway Network. There is a special zone called Default. It is always present and can't be modified, and will be used if an incoming connection does not match any of the other defined zones. Identifiers are how incoming connections are distinguished between different zones. While there are different options to define the incoming connection, it only needs to match one of the Identifiers to match a zone. After first being identified as part of a particular Security Zone, the connection then checks the Qualifiers. With the Qualifiers, the incoming connection needs to fit in with all of the properties before it is fully placed into the Security Zone.
-
Under the Config tab of the Gateway Webpage go to Security > Security Zones.
-
Select the Create new Security Zone link.
-
Enter a name and description for the new zone.
-
Under Identifiers, enter an IP Address and a Gateway Name.
-
Under Qualifiers, select the Require Secure Connection option. Leave the remaining options at their default settings.
-
Click Create New Security Zone. The page will refresh and you will see a green banner stating that your new Security Zone was successfully created.
Settings Table
Identifiers
| Setting | Description |
|---|---|
| IP Addresses | This defines an IP address that the connection is coming from. This can be a list of IP addresses by using commas to separate them. It can also make use of the (*) wildcard like '192.168.100.*', or use a range such as '100.100.1-100.0-255'. With IP addresses, virtually all connections can be listed. Use 127.0.0.1 for the local connection. |
| Host Names | The host name refers to the system name of the machine generating the request such as Joe_Workstation. This can be a list of names separated by commas, and it can also use the (*) wildcard like '*_Workstation'. |
| Gateway Names | A list of Gateway system names that qualify for this zone.Note: When identifying a Gateway through a proxy Gateway, the IP Address should be using the IP of the proxy, but the Gateway name should use the name of the Gateway we are trying to identify. |
Qualifiers
| Setting | Description |
|---|---|
| Require Secure Connection | If this is true, only connections that are made over a secure channel will be accepted. |
| Direct Connection Required | If this is true, only connections that come from a direct connection will be accepted. The Gateway Network allows you to connect three Gateways in a 1-2-3 configuration, where Gateway 1 can see Gateway 3 through the proxy Gateway 2. |
| Allow Client Scope | If this is false, any client scoped requests will not be accepted. |
| Allow Designer Scope | If this is false, any Designer scoped requests will not be accepted. |
| Allow Gateway Scope | If this is false, any Gateway scoped requests will not be accepted. |