OAuth 2.0 Clients
What is OAuth 2.0?
OAuth 2.0 is an authorization standard that is developed by IETF OAuth Working Group. Unlike basic authorization which requires a user to input a fixed password to log in, OAuth 2.0 requires users to input an access token instead. This makes using OAuth 2.0 more secure than basic authorization, since the access token is:
- Unique to the client and the requested scope of access
- Difficult to guess
- Constantly changing
Some well-known authorization protocols, such as OpenID Connect, are built on the OAuth 2.0 standard. See the official OAuth 2.0 documentation for more information.
Configuring OAuth2 Clients
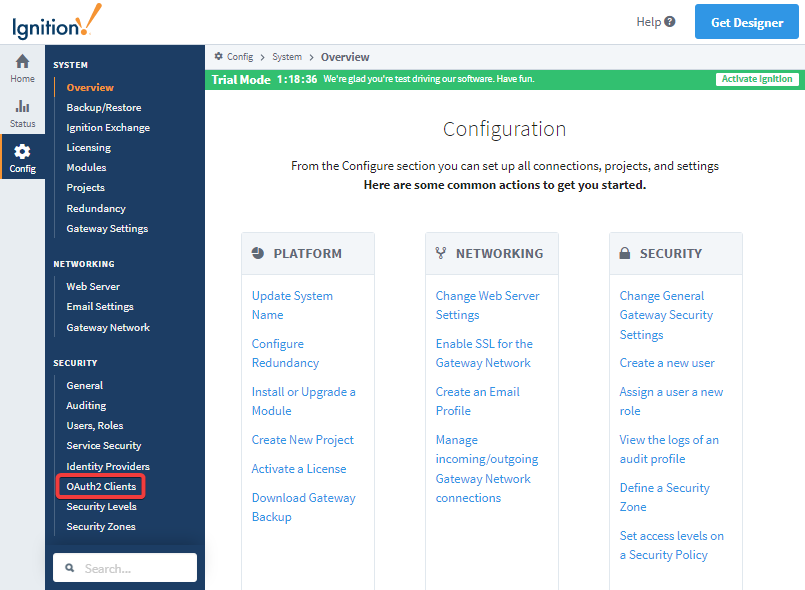
OAuth2 Clients are used by OAuth2 Email Profiles. Additionally, multiple OAuth2 Email Profiles can use the same OAuth2 Client. When configuring an OAuth2 SMTP Email Profile, you can reference the name of your OAuth2 Client to use those properties. To set up or modify OAuth2 Clients, navigate to the OAuth2 Clients section. You can find this section by going to your Gateway webpage > Config > Security > OAuth2 Clients.
Creating a new OAuth2 Client
-
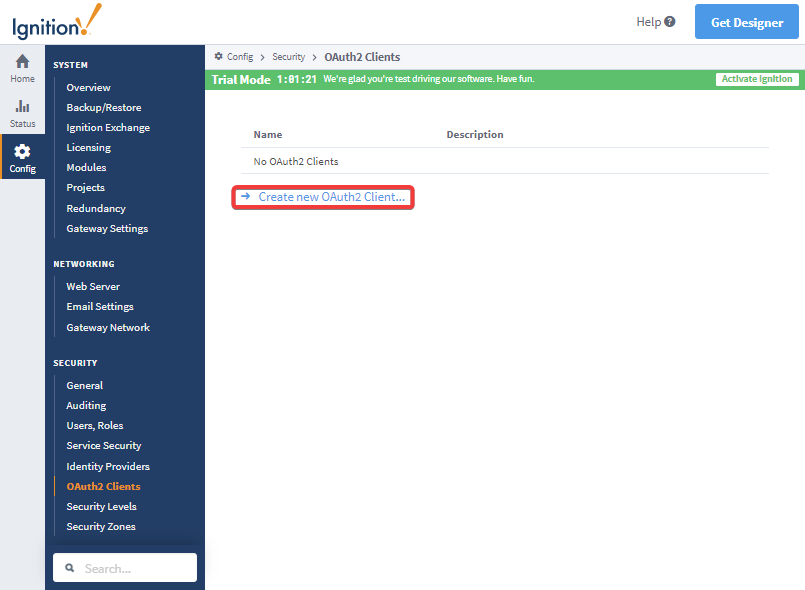
Click on the OAuth2 Clients option. This will bring up a window where you can select an existing OAuth2 Client to modify, or create a new OAuth2 Client. Select "Create new OAuth2 Client..."
-
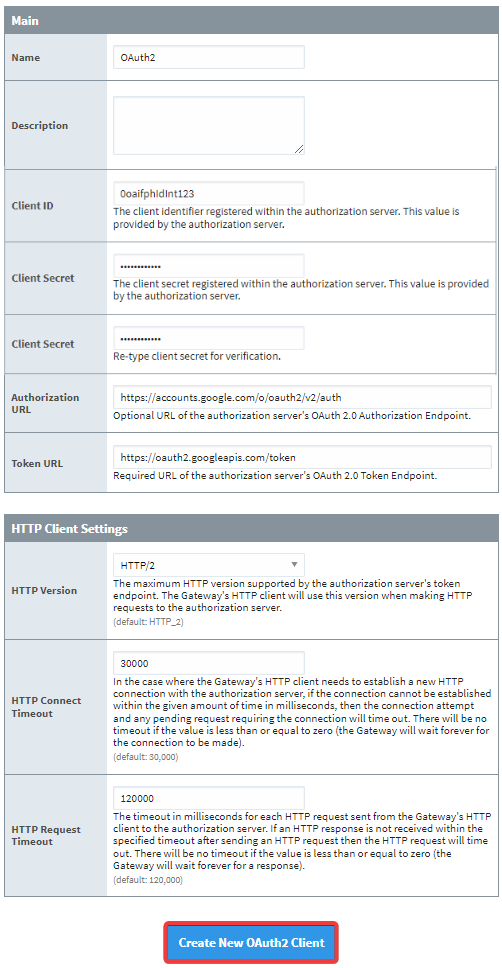
From here, you will be able to configure your OAuth2 Clients by specifying various properties. Fill out the fields on this page.
Client ID and Client Secret ValuesA Ignition generated URI redirect address for your Ignition server is listed in the information box at the top of the page. In our example it is
You need to provide this URI to your IdP (usually this means giving it to your IT department) to add your Ignition server as an application to the IdP. Once done, they can provide you with a Client ID and Client Secret. Filling the Client ID and Client Secret fields is needed for the Ignition Gateway to properly communicate with the IdP.http://localhost:8088/data/oauth2/client/{name}/authorize/callback.
If you don't know them yet, you can put in bogus values for now and edit them later once the correct values are provided to you.
-
Click Create New OAuth2 Client once all required fields are filled.
-
Your OAuth 2.0 Client is now set up and you can now test your token, test authorization, or begin using it.
OAuth2 Client Properties
The reference table below lists the available properties to configure and edit for OAuth2 Clients.
Main
| Property Name | Property Description |
|---|---|
| Name | The name of your OAuth2 Client. This field is important, as redirect URIs will use the name of the OAuth2 Client. |
| Description | A description of your OAuth2 Client. (Optional) |
| Client ID | The client identifier registered within the authorization server. This value is provided by the authorization server. |
| Client Secret | The client secret registered within the authorization server. This value is provided by the authorization server. |
| Client Secret | Re-type the client secret for verification. |
| Authorization URL | URL of the authorization server's OAuth 2.0 Authorization Endpoint. (Optional unless using interactive mode or authorization code flow) |
| Token URL | URL of the authorization server's OAuth 2.0 Token Endpoint. |
| Authorization Response Mode | New in 8.1.43 Requests the authorization server to use the form_post mechanism for returning authorization response parameters from the authorization endpoint. |
HTTP Client Settings
| Property Name | Property Description |
|---|---|
| HTTP Version | The maximum HTTP version supported by the authorization server's token endpoint. The Gateway's HTTP client will use this version when making HTTP requests to the authorization server. Choose between HTTP_1.1 or HTTP_2. Default is HTTP_2. |
| HTTP Connect Timeout | In the case where the Gateway's HTTP client needs to establish a new HTTP connection with the authorization server, if the connection cannot be established within the given amount of time in milliseconds, then the connection attempt and any pending request requiring the connection will time out. There will be no timeout if the value is less than or equal to zero (the Gateway will wait forever for the connection to be made). Default is 30,000. |
| HTTP Request Timeout | The timeout in milliseconds for each HTTP request sent from the Gateway's HTTP client to the authorization server. If an HTTP response is not received within the specified timeout after sending an HTTP request then the HTTP request will time out. There will be no timeout if the value is less than or equal to zero (the Gateway will wait forever for a response). Default is 120,000. |
OAuth2 Client Options
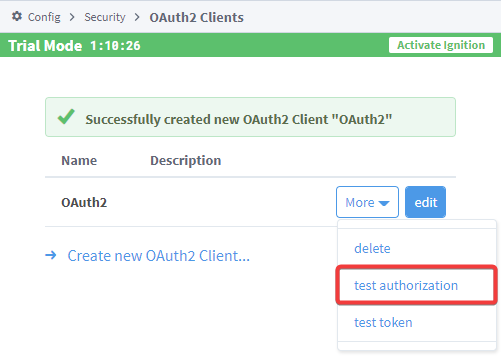
After you set up your OAuth2 Client, you should have the option to edit your properties, delete the client, test authorization, or test your token.
Test Authorization
The "test authorization" option will be unavailable if the optional Authorization URL configuration setting is blank on the OAuth2 Client's configuration settings.
The "test authorization" tool allows you to test the integration between the OAuth2 Client configured in Ignition with the OAuth2 Authorization Server. More specifically, it allows you to walk through a test run of the Authorization Code Grant flow. During this process, the authorization server will validate the end user and may prompt the end user to give the Client permissions to perform actions on their behalf, such as sending emails. Once these permissions have been granted, the authorization server will generate an authorization code, which the Client can use to obtain an access token. To see an example of this process work alongside testing tokens, go to the Test Authorization and Token Example.
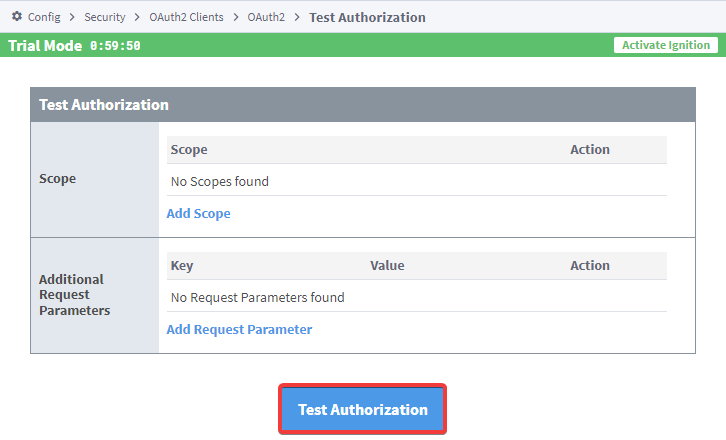
If you want to test the authorization, choose the test authorization option.
You will need to add any scopes you want to test with, along with any additional Request Parameters you want to try. You can find Request Parameters in your authorization server's documentation. Once those fields are filled out, click on "Test Authorization".
Test Token
The test token option is useful in cases where you want to test the authorization code to make sure it successfully gives the Client an access token. It is also useful if you want to test an access token request using a client credentials grant, or refreshing an access token using a refresh token. During this process, the Gateway will make an access token request against the authorization server using one of three methods and get a response back. To see an example of this process work alongside testing authorization, see the Test Authorization and Token Example.
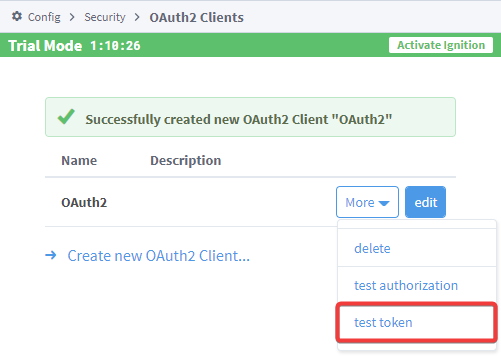
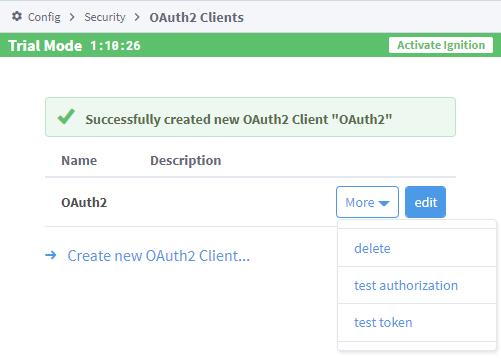
You can find the test token option on the OAuth2 Clients page.
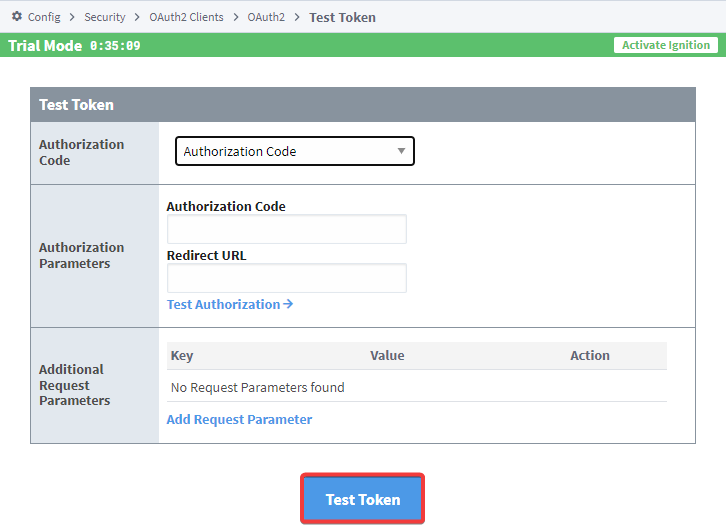
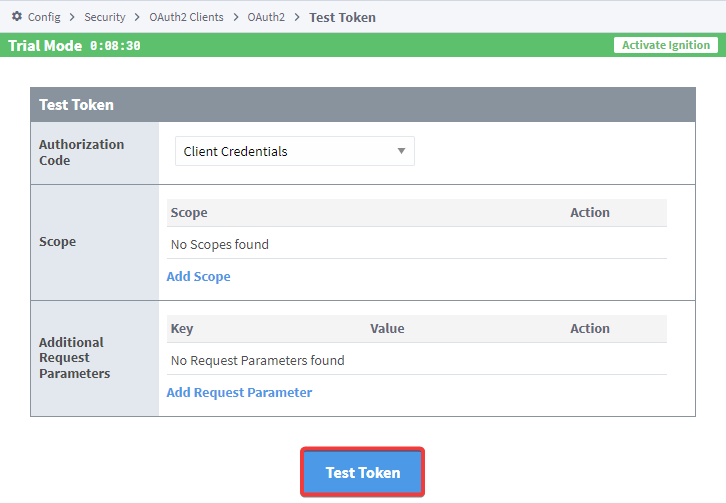
The section below details the Authorization Code, Client Credentials, or a Refresh Token grant types, with the main difference between the three being the type of information you will need to enter.
-
- If you use an Authorization Code, you will need to enter an Authorization Code, Redirect URL, and any additional Request Parameters. Once you input that information, click on "Test Token".
-
- If you use Client Credentials, you will need to enter a scope and any additional Request Parameters. Once you input that information, click on "Test Token".
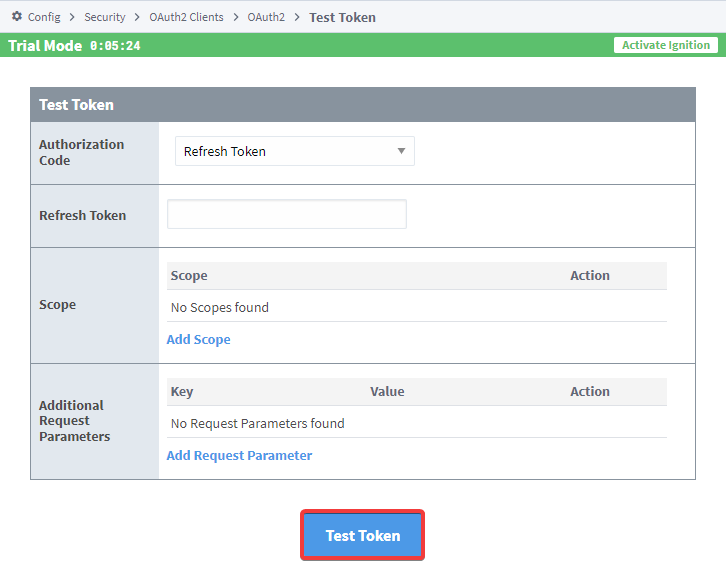
-
- If you use a Refresh Token, you will need to enter the Refresh Token, scope, and any additional Request Parameters. Once you input that information, click on "Test Token".
Test Authorization and Token Example (Google Identity OAuth2)
This example walks you through a "test authorization" and "test token" workflow for an OAuth2 Client configured against Google's OAuth2 Authorization Server.
-
Go to your OAuth2 Clients page. This is located at your Gateway webpage > Config > Security > OAuth2 Clients.
-
Set up your OAuth2 Client if you haven't already. For this example, we are using the OAuth2 Client we set up earlier called "OAuth2":
-
Click on the "test authorization" option. This will bring up the Test Authorization window. Add any Scopes and additional Request Parameters for your OAuth2 Client, and then press "Test Authorization".
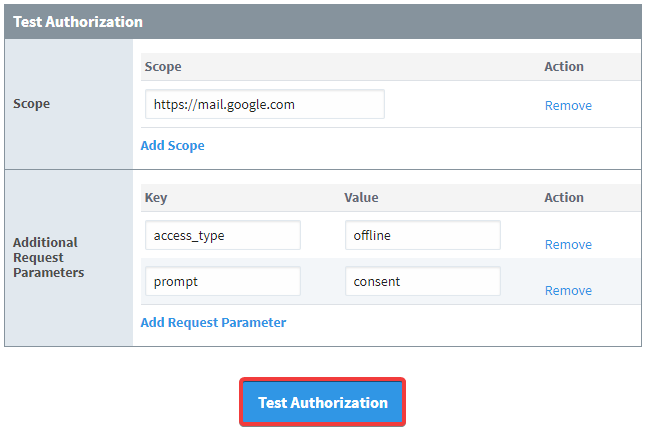
The additional Request Parameters in the example are specific to Google's Authorization Server. They do two things:
-
access_type: Setting this parameter to "offline" will allow your Client to refresh access tokens while the user is not present at the browser.
-
prompt: Setting this parameter to "consent" will force the Client to prompt the user for consent.
-
-
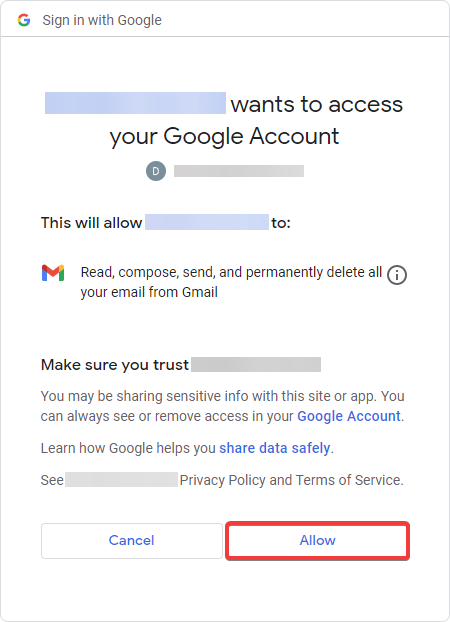
Since we are using Google Identity, we will be redirected, and a Google permission prompt will appear. Click "Allow".
-
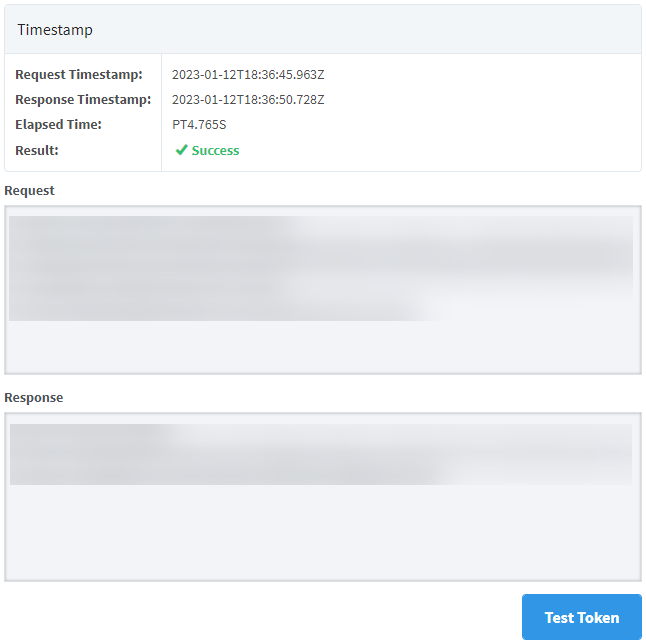
Once permissions are granted to the OAuth2 Client, you will be redirected to the Gateway. Information about the authentication, including the authorization code, timestamps, results, and more will be displayed.
 note
noteBesides the main OAuth2 Client page, you can use the Test Token button on the authentication results page to test access tokens. The benefit of testing your token from the authentication results page however, is that some information, such as the Authentication Code and Redirect URL will already be filled out based off the information from the authorization test.
-
Click on the "Test Token" button on the authentication results page. This will bring you to the Test Token page, where some fields will already be filled in.
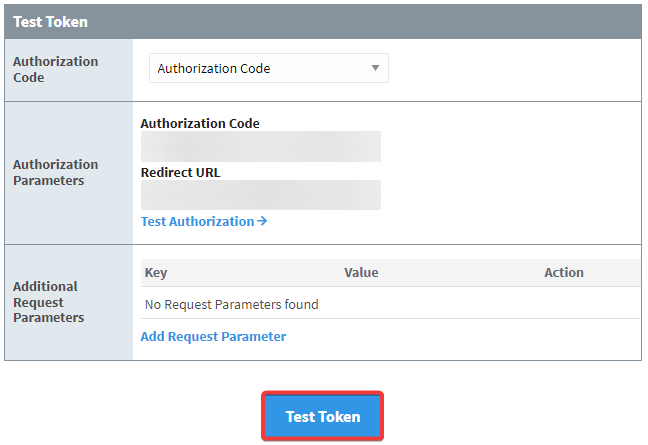
Click on "Test Token" to see what the token test results will be.
-
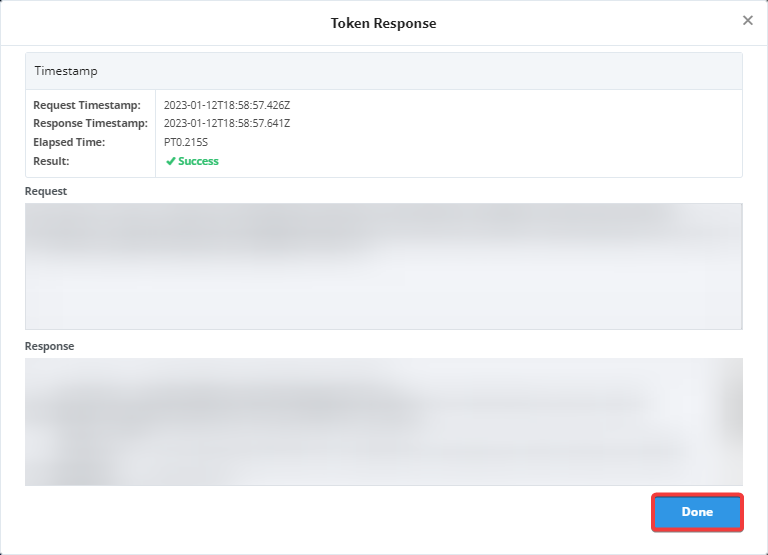
A "Token Response" dialog box will appear, showing the results of the token test, as well as timestamps, the response, and more. Click Done to close out the dialog box.