Navigation - Tab Strip
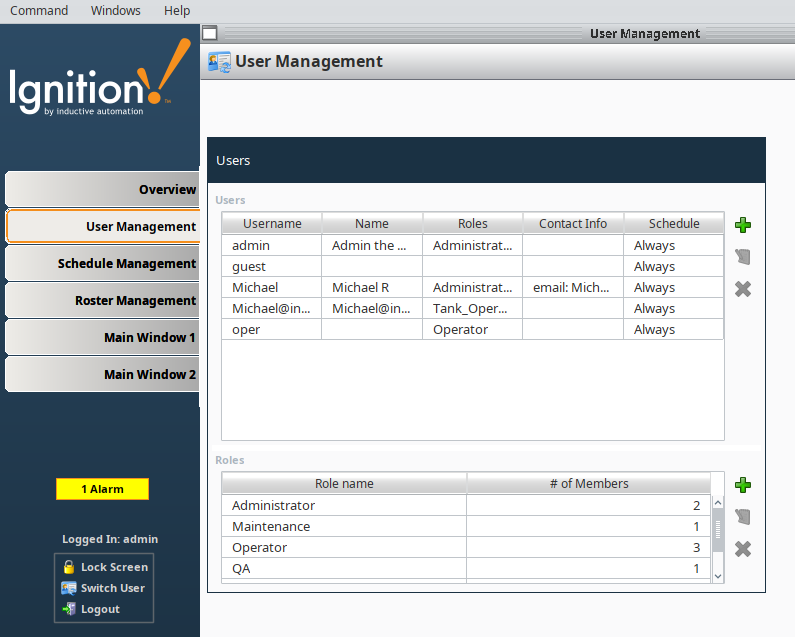
The Tab Strip is a simple navigation strategy used for small project structures having only a few windows. It allows users to see all the navigation tabs on the first screen of the runtime. It is most commonly used in a docked window to provide automatic window navigation. The Tab Strip works by clicking on a tab to swap one main window for another. The Tab Strip has two navigation modes:
- Swap Windows - the Tab Strip automatically calls system.vision.swapTo() with the name of the selected tab for easy navigation from one window to another.
- Disabled - the Tab Strip doesn't do anything when a tab is pressed. Users can customize tabs using property bindings or by responding to the propertyChange scripting event.
A Tab Strip is an effective primary navigation strategy, particularly when you don't have many items to choose from.
Tab Strip Navigation Example
Tab Strip navigation is simple to set up. In the following example, we'll set up a small project that has a few windows which are visible on the navigation tabs.
-
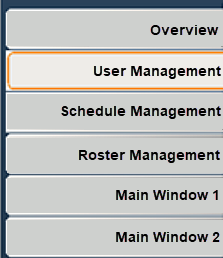
Add a Tab Strip component to a window, typically a docked window.
-
Right-click on the tab component, choose Customizers > Tab Strip Customizer.
-
In the Tab Strip Customizer you can specify which window to open with each tab. Notice the Tabs component has a Navigation Mode property which is set to Swap Windows.
-
To create a new tab, click Add Tab (this example creates a Main Window 2 tab). If you have a tab already selected, clicking the Add Tab button creates a duplicate of the selected tab.
Main Windows already createdThis step assumes you already have your main windows created in your Project Browser.
-
Under Window Name dropdown list, select the window you want to open. Note it is the full path from the window and not just the name (i.e., Main Windows/Main Window 2).
-
Enter the Display Name for your new tab (i.e., Main Window 2).
-
With the Move Up, Move Down, and Remove Tab buttons you can move tabs up and down on the tab strip, and remove a tab if it is no longer required.
-
You can also set the Background and Foreground colors when to show when a tab is selected and unselected.
-
When you're finished, press OK.

-
-
Save your project.
-
Open your project in the Client and confirm each tab navigates to a different window.