On-Call Rosters
The On-Call Roster defines user groups to be notified when an alarm occurs. Each group includes a list of users in a specific order. Alarm pipeline notification blocks must choose an on-call roster that identifies the users to notify for that notification block. When notifications are sent out by a pipeline, all users on the roster will be notified, except for any off shift (see schedules).
On-Call Rosters are statically defined, in that they can't be modified from a pipeline. However a calculated roster can be created on demand on a notification block.
Create and Manage an On-Call Roster
-
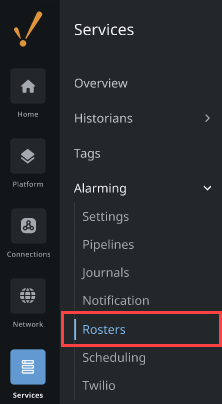
Go to the Services section of the Gateway Webpage.
-
Click Alarming > Rosters.
-
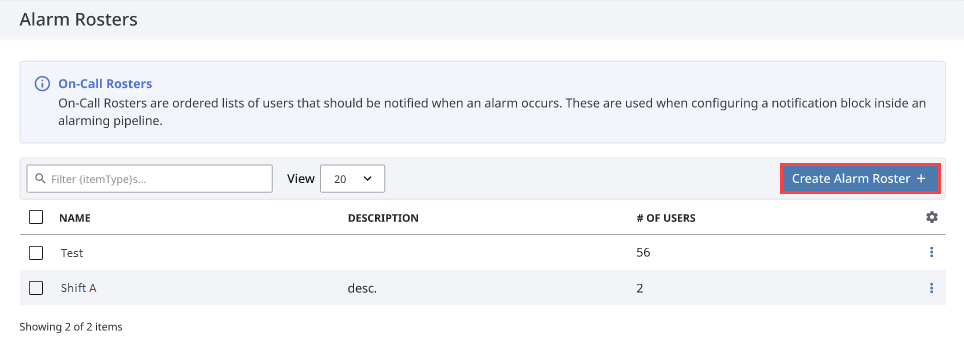
Click on Create Alarm Roster.
-
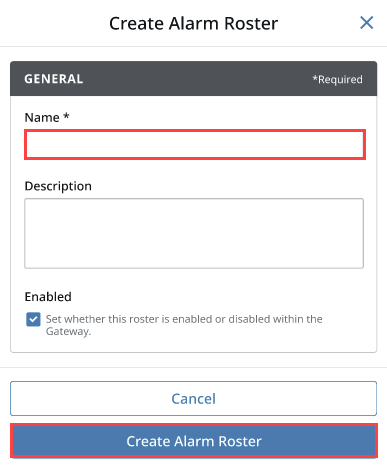
On the Create Alarm Roster form, enter a Name, and Description if desired, and click Create Alarm Roster.
-
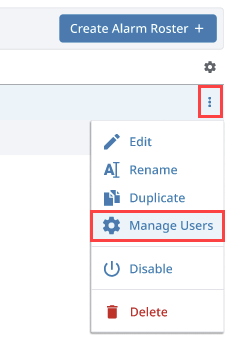
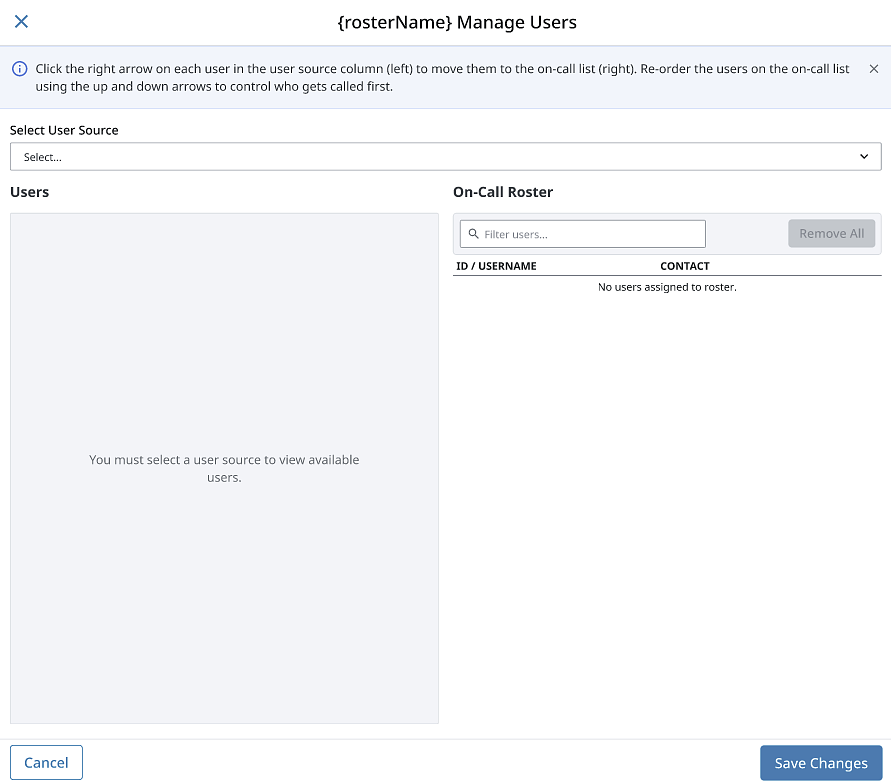
Now on the Alarm Rosters page, expand the three dots menu for the new roster and select Manage Users.
-
The Manage Users panel is displayed. Here you can add one or all users from a source list, and put them in any order you wish. You can also remove users from the roster.
-
Click Save Changes.
Manage the Roster from the Client
Roster management also can take place from within a Vision Client.
-
Open your project in the Designer and navigate to a window the client has access to. If this is a new window, you will have to add it to your navigation.
-
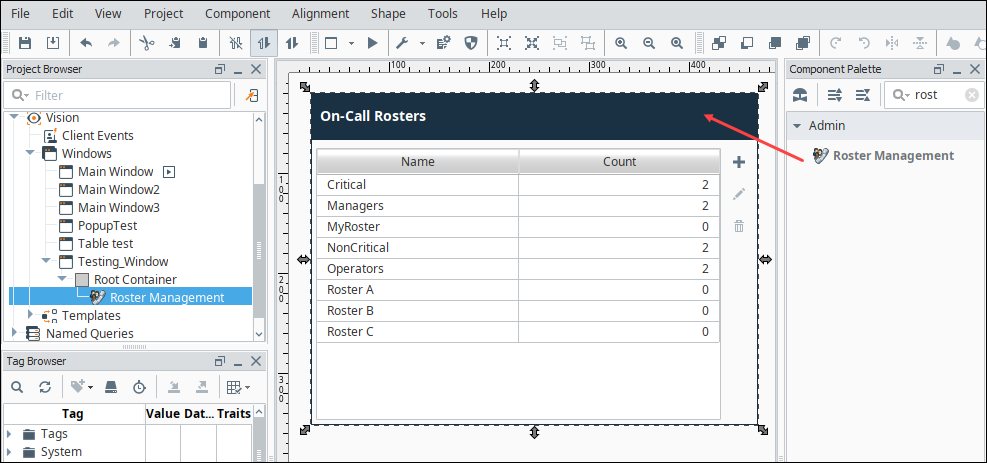
From the Component Palette, drag and drop a Roster Management component in your design window.
-
If you have more than one user source, go to the Property Editor and enter the one you want to be used by the roster in the User Source property.
-
Save your project.
-
To interact with the roster, either launch your Vision Client or put your Designer into Preview mode.
-
To edit the roster, double-click any where on the roster or click the Edit
 icon in the upper right.
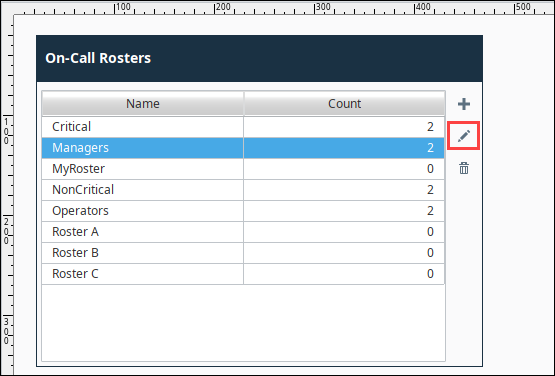
-
On the Edit Roster screen, you can add an available user to the On-Call Roster, by selecting the user and clicking the Add User
 icon. Alternatively you can add all users by clicking the Add All Users
  icon.
icon.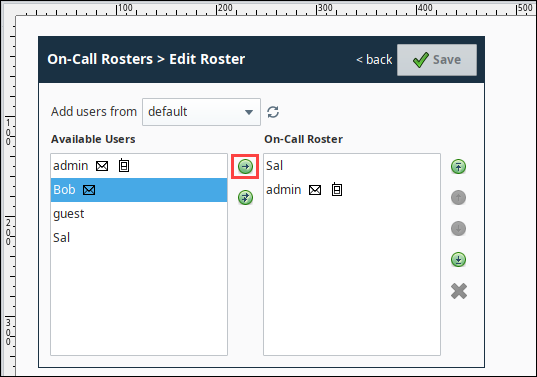
-
To delete a user from the roster, select the user and click the Delete
 icon.
icon.
For additional information, see the Vision - Roster Management component.