Parameterized Popup Window
Overview
A parameterized popup window lets you pass parameters from one window into a Popup Window, where the receiving window would display relevant information. Also, this allows you to maintain a single window that can be used to display similar information. For example, suppose you have 2 compressors: Compressor 1 and Compressor 2. Imagine clicking a compressor on your main window and a popup displays the diagnostic information about the compressor. What is passed is simply the compressor number, therefore a single diagnostic window can represent many different compressors.
Passing Parameters to a Popup Window
To pass parameters from one window to a Popup Window, the receiving Popup Window must have Custom properties that receive the passed parameters. When the event on the parent window is called, the parameters are passed to the receiving Popup Window's custom properties on its Root Container. The component's properties on the receiving window can use the Root Container's Custom properties to address their bindings.
This example shows how to setup a main window and a popup window to pass compressor numbers to the Popup Window in order to display relevant information about each compressor.
Setting up the Main Window
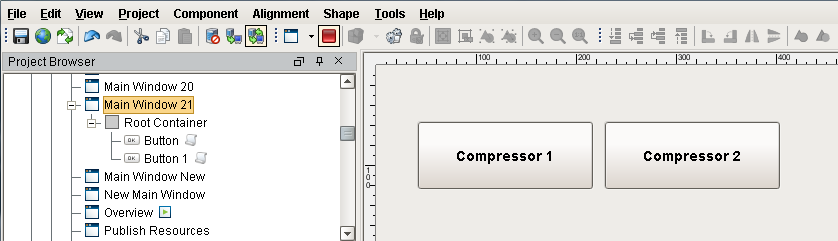
The Main Window uses buttons to switch between compressors.
-
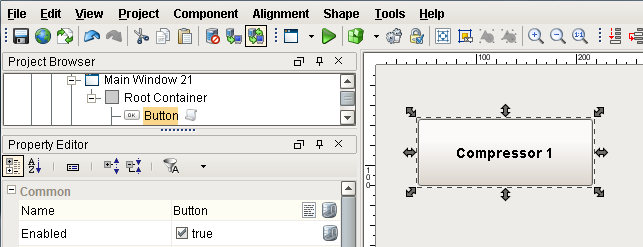
In a Main Window (parent window) drag a Button from the component palette to your window and call it 'Compressor 1'.
-
Add a custom property which will pass the compressor number to the popup window. Right click on Compressor 1, select Customizers > Custom Properties. Specify the property named 'Compressor' with a datatype of 'Integer' and click OK.
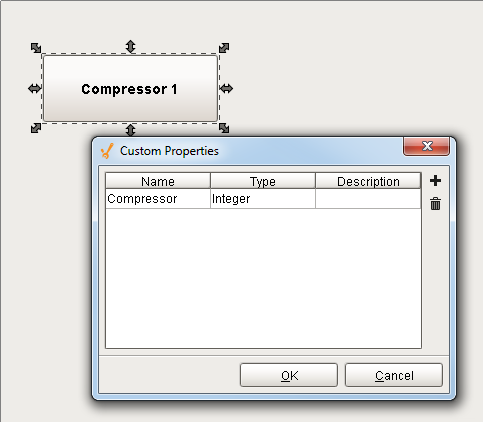
The Compressor property is now created and displayed in blue in the Property Editor under Custom Properties.

-
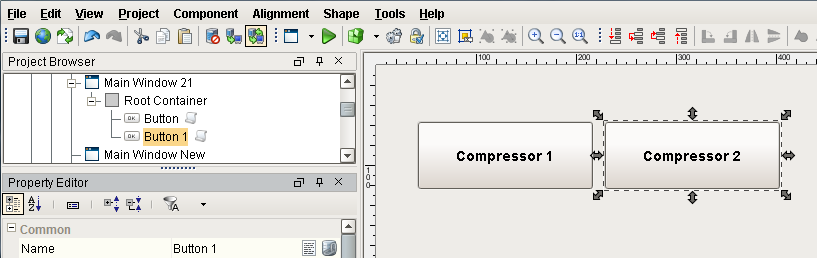
Now, create a second compressor button. A quick way to do this is duplicate (Ctrl+D) the Compressor 1 button so it inherits the custom property, and label it 'Compressor 2'.
-
From the Property Editor, change the values for each of the compressors to represent Compressor 1 and Compressor 2, respectively:
-
For the Compressor 1 Button, change the value to '1'.

-
For the Compressor 2 Button, change the value to '2'.

-
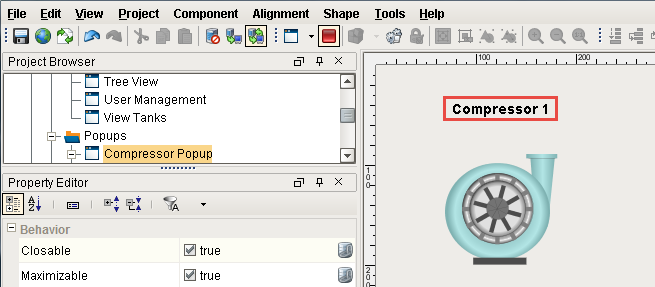
Setting up the Popup Window
-
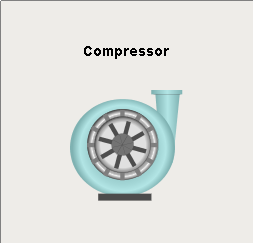
Drag Compressor and Label components from the component palette to your window. Rename the Label component to 'Compressor'.
-
Now, create a custom property on your Popup window that will receive the passed parameters. Right click on your window and select Customizers > Custom Properties. The Custom Properties window will be displayed. Specify a Name for the Custom Property, for example, name it
compNum, and click OK.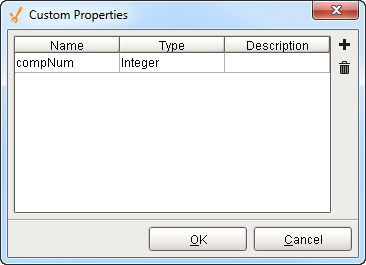
The Custom property is created and displayed in blue at the bottom of the Property Editor.
noteDo not bind these Custom properties to anything, leave them unbound so you can pass values into them without any other values to override them.
-
Let's use an expression on the Label to change the compressor number.
-
Select the Label and click the binding icon for the Text property.
-
Select Expression for the binding type.
-
Click the Link icon
 in the Expression window and choose the 'compNum' custom property on the root container for the compressor popup window as shown in the screenshot below. You can also copy and paste the expression from the Code Block as shown below.
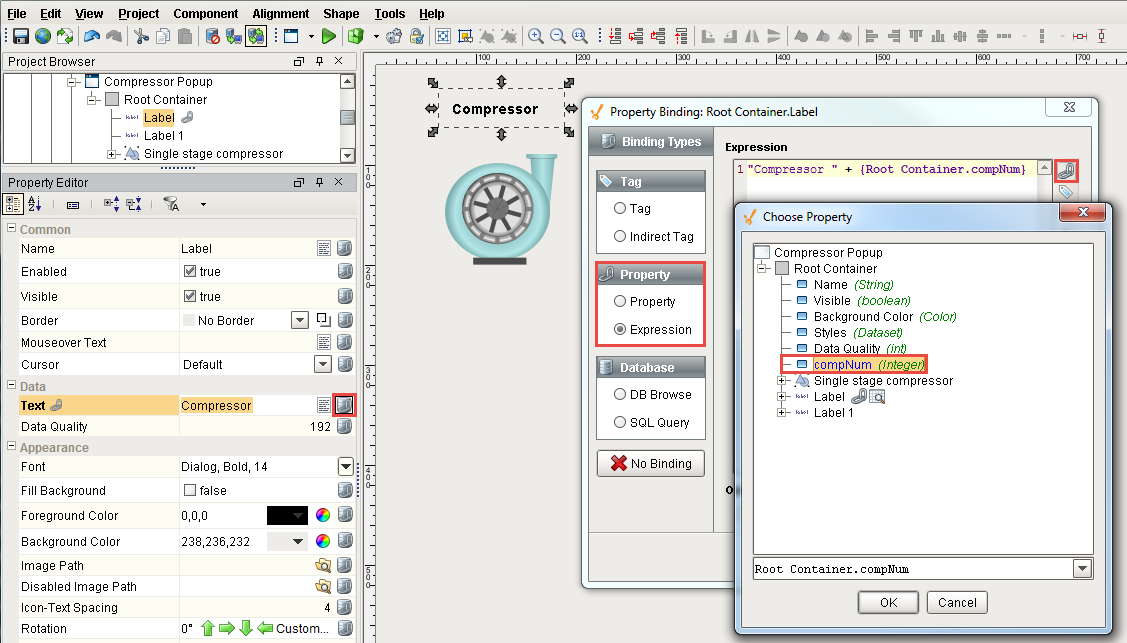
Script to change the compressor number"Compressor " + {Root Container.compNum} -
-
One last thing to do, add the script to the buttons which read the custom property. This changes the value on the custom property from Compressor 1 to Compressor 2 or visa versa when you press the compressor buttons.
-
Go to your Main Window, right click on the Compressor 1 button and select Customizers > Scripting.
-
Select Open/Swap navigation.
-
Enter your window path for your Popup Window (i.e., Popups/Compressor Popup).
-
Check the Pass Parameters box. Click the green plus
 to add a parameter, which will add a row to the table.
 -
Click the new row under Parameter Name and a dropdown list will appear. Ignition will automatically check the Root Container of the window selected in the Window dropdown. If you do not see the 'compNum' parameter, it may have been created on wrong component, so check the Root Container of the Compressor Popup window. Select the custom property 'compNum'.
-
With the row highlighted, click the Link icon
and navigate to the folder where the compressor buttons are located and select the 'Compressor' custom property. Press OK twice. Repeat this step for the Compressor 2 button.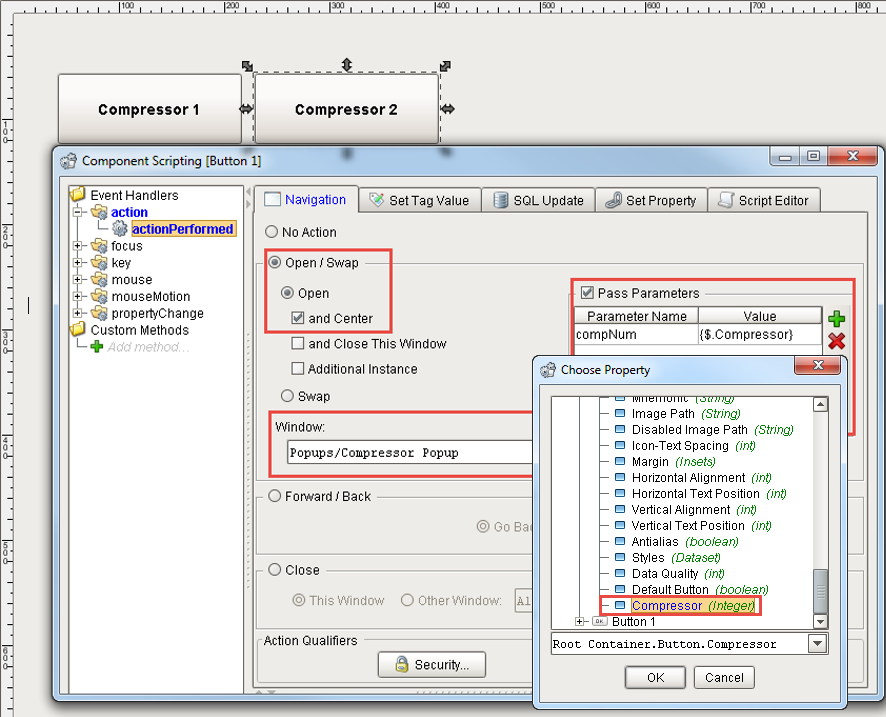
-
-
Save your project.
Test the Project
-
Go to Preview Mode, and from your Main Window, click on Compressor 1. Your Popup Window will open and display Compressor 1.
-
Go back to your Main Window and click on Compressor 2. This time, your Popup Window will open and display Compressor 2.
